To create an AI influencer, pick a clear niche and persona, choose an image generator, design a signature look, then lock that face and body so they stay identical across every post. Build a content library, open social accounts with honest AI disclosure, post consistently, and monetize through subscriptions, brand deals, or fan platforms.
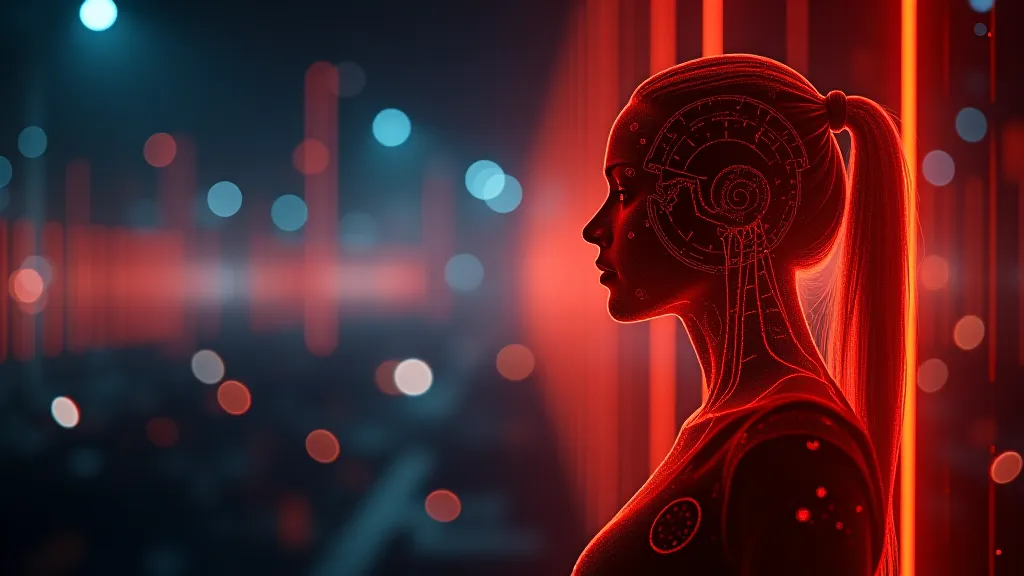
An AI influencer is a fictional virtual character you create and control. The person in the photos does not exist. You generate their images, write their captions, and grow their audience the same way a human creator would. The hard part is not making one pretty picture. It is making hundreds of pictures that all look like the same person, then turning that audience into income. This guide walks the whole path end to end, and points you to deeper guides for each step so you can go as deep as you need.
Step 1: Pick a niche and a persona
Start with the niche, not the face. A virtual model with no point of view is invisible. Decide what your character is about: fitness, fashion, travel, gaming, cosplay, alt or goth aesthetics, luxury, or adult content. The tighter the niche, the easier it is to find an audience and to know what to post. A “general pretty girl” account competes with millions of others. A “Tokyo-based streetwear and skate culture” account competes with far fewer and signals exactly who should follow.
Then build the persona on top of it. Give your character a name, an age range, a home city, a personality, and a backstory. Write a one-page character bible: how they talk, what they like, what they would never post, their favorite places, their daily routine. This document keeps your captions consistent even when you are tired or rushed, and it is what makes the character feel like a person rather than a slideshow. Audiences follow personalities, not pixels. The accounts that win have a voice you could recognize with the profile photo cropped out.
Spend real time here. Most people rush past the persona to get to the fun part of generating images, then wonder why their feed feels hollow. The persona is the product. The images are just how it is delivered.
Step 2: Choose your image generator
Your generator decides how realistic your model looks and how much control you get. There are three broad tiers, and the right one depends on your skill and ambition.
- Web apps and persona tools. Easiest to start with. You describe a character and the app keeps them roughly consistent across generations. Low technical skill required, but less fine control over pose, framing, and style. Great for validating an idea fast.
- Hosted Stable Diffusion and Flux interfaces. A middle ground. More control over pose, lighting, and style, with no GPU needed because the heavy lifting runs in the cloud. You pay per image or per month.
- Local Stable Diffusion (ComfyUI or Forge). Maximum control and the best consistency tools, including LoRA training and IPAdapter, but you need a capable GPU and patience to learn the interface.
Most serious creators end up on local Stable Diffusion because it is the only path to truly locked consistency at scale, and because it is free to run once you own the hardware. But you do not have to start there. If you want a fast, free starting point to test prompts and looks, try our free NSFW AI image generator before committing to a heavier setup. For a full comparison of which tools build a consistent virtual model best, see our best AI influencer generators roundup, and for the wider toolkit beyond images, read best tools for AI influencers.
Step 3: Design the signature look
Now design the face and body you will reuse forever. Lock down concrete, repeatable traits: hair color and length, eye color, skin tone, face shape, body type, and a couple of signature features such as a freckle pattern, a beauty mark, a tattoo, or a distinctive hairstyle. Write all of these into a base prompt you reuse every single time you generate.
Keep the look believable and distinctive. A face that is too generic blends into every other AI model on the platform, and viewers scroll past without registering it. A face with one or two memorable signatures is what makes people recognize your character in a crowded feed and feel like they “know” them. Avoid the over-smoothed, plastic AI look that instantly reads as fake; aim for natural skin texture, slight asymmetry, and realistic lighting.
Generate twenty to thirty test images using your base prompt, then pick the single best face. That image becomes your reference anchor, the master that every future image must match. Save it, name it, and treat it as the source of truth. For prompt ideas that produce realistic, distinctive faces, our NSFW prompt examples guide is a useful starting library.
Step 4: Lock a consistent face and body
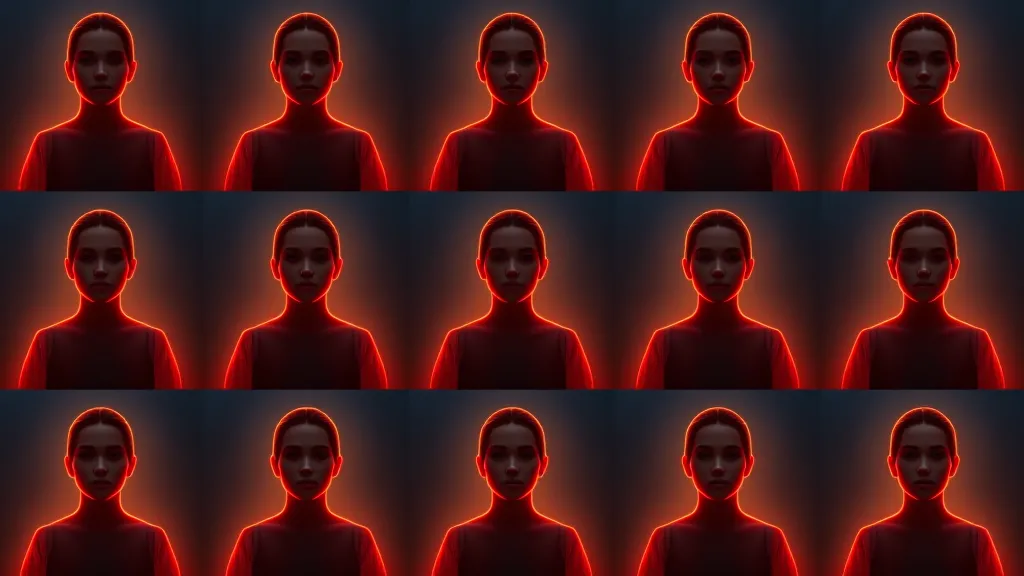
This is the make-or-break step. Without consistency, your character looks like a different person in every post and the illusion collapses. There are several methods, ordered from easiest to most powerful:
| Method | Difficulty | Consistency | Best for |
|---|---|---|---|
| Reusable seed plus locked prompt | Low | Fair | Quick tests, single scenes |
| Face-reference (IPAdapter or reference image) | Medium | Good | Most creators |
| Character LoRA trained on your face set | High | Excellent | Serious, long-running models |
| LoRA plus face-reference combined | High | Best | Professional production |
The common workflow is to generate one perfect face, then use a face-reference method like IPAdapter to carry it into new poses, outfits, and scenes. A fixed seed alone is not enough, because changing the prompt drifts the face. Once you have 15 to 30 clean, varied images of that face, you can train a character LoRA for near-perfect consistency, then stack it with a face-reference for the best results.
This step has the steepest learning curve and the highest payoff. Get it right and everything downstream becomes easy. Get it wrong and no amount of posting will save the account. Our character consistency techniques guide covers every method in detail, and the LoRA training guide walks the full training process from gathering images to testing the finished model.
Step 5: Generate a content library
Do not post your first image the moment you make it. Build a buffer first. Aim for 30 to 50 images before you launch so you never go dark in your first month and so you can study what your feed looks like as a whole before anyone sees it.
Vary everything except the face: outfits, locations, lighting, time of day, poses, moods, and close-ups versus full-body shots. A feed where every image is the same crop and pose looks robotic. Real people are photographed in many ways, so your character should be too.
Plan content in themes so batching is efficient. A fitness model needs gym shots, outdoor runs, meal photos, and casual selfies. A fashion model needs outfit changes, mirror shots, and city backdrops. A cosplay model needs costume builds and convention-style settings. Batch-generate by theme so your feed feels like a real life unfolding, not a random pile of renders. Keep a spreadsheet of what you have shot and what gaps remain. For more themes, our AI influencer content ideas guide has a long list to pull from.
Step 6: Set up accounts with honest disclosure
Open accounts on the platforms that fit your niche. Instagram and TikTok for mainstream personas, fan platforms for adult work, and possibly X or Reddit depending on the audience. Use a consistent username, profile photo, and bio across all of them so the brand is recognizable everywhere.
Be clearly and honestly AI. Your character must be presented as fictional. Most platforms now require AI-generated content to be labeled, so add an “AI” or “virtual model” note in the bio and use the platform’s built-in AI-content tags when you post. Never present your character as a real, specific person, and never use a real individual’s face or likeness. That crosses into impersonation and can be illegal as well as a terms violation.
Rules vary by platform and change often, so check each platform’s current terms of service, and consult a lawyer if money, contracts, or licensing are involved. Do not treat any guide, including this one, as legal advice. For an Instagram-specific walkthrough of the feed format, disclosure rules, and what gets accounts banned, see how to make an AI model for Instagram. For the broader legal and platform landscape, read AI influencer legal and platform rules.
Step 7: Post consistently and grow
Consistency beats perfection. Pick a posting cadence you can actually sustain, three to five times a week is realistic for one person, and stick to it. Use reels and short video to reach new people, since static images alone grow slowly in 2026 and the algorithms heavily favor video. Engage in your niche, reply to comments in your character’s voice, and collaborate or cross-promote with other accounts when you can.
Growth is slow at first and then compounds. Most AI influencers see little traction for the first few months, then accelerate once the feed has depth, the captions have a clear voice, and the algorithm understands the niche. Patience and a full content buffer are what separate the accounts that survive from the ones that quit at week three. Track which posts perform and make more of what works. Our how to grow an AI influencer guide goes deep on posting strategy, hooks, and the algorithm.
Step 8: Monetize
Once you have an engaged audience, turn attention into income. The main streams are subscriptions on fan platforms, brand and affiliate deals, sponsored posts, and digital products like preset packs or wallpapers. Each takes a different audience size and effort level to pay off, and most creators run several at once.
Do not expect money in month one. Most creators reinvest early growth into more content and only start earning meaningfully once they have a few thousand engaged followers, not just a high follower count of bots and ghosts. Engagement matters more than raw numbers to brands and to fan-platform conversion.
For the full breakdown of streams, realistic payout ranges, and ramp times, read how to make money with an AI influencer, and for hard numbers on earnings see how much do AI influencers make. If your model is adult, the NSFW AI for OnlyFans creators guide covers the specific tools and workflows for that path.
Common mistakes that kill new AI influencers
Most accounts fail for predictable reasons, and almost all of them are avoidable. The first is inconsistent faces. If your character drifts even slightly from post to post, sharp-eyed followers notice and the magic dies. Treat your reference anchor as sacred and check every new image against it before it ships.
The second is the plastic, over-rendered look. Default AI settings tend to produce airbrushed, waxy skin and impossibly symmetrical faces that scream synthetic. Dial in natural skin texture, realistic lighting, and small imperfections so the images read as photographs rather than renders.
The third is posting without a persona. Beautiful images with empty or generic captions get likes but no loyalty. People follow voices. Write captions in your character’s voice, reference their fictional life, and give followers a reason to come back beyond the visuals.
The fourth is impatience. Many creators ship five posts, see no growth, and abandon the account. Growth on every platform is slow before it is fast. The fifth is ignoring video. Static feeds barely move in 2026; short video is how new audiences discover you, so plan for image-to-video from the start.
A realistic first-90-days plan
Here is a sane timeline for a solo creator. Weeks one and two: define the niche and persona, choose your generator, and lock the signature look. Generate test images until the face is consistent. Weeks three and four: train or set up your consistency method and batch-generate a 40-image launch library across several themes. Week five: open accounts with honest AI disclosure and publish your first nine to twelve posts to establish the feed.
Weeks six through eight: post three to five times a week, add short video, and engage daily in your niche. Start a second content batch so you never run dry. Weeks nine through twelve: double down on whatever format performs best, begin light outreach for collaborations, and only then start thinking about monetization. By day 90 you should have a recognizable character, a full feed, and the early signal of which content your audience actually wants. That signal is worth more than any single viral post.
Putting it together
The creators who succeed treat this like a real production: a clear persona, a locked look, a deep content library, honest disclosure, and steady posting. The tech is the easy part now that generators are this good. The discipline is the moat. Start small, keep the face consistent, post on a schedule you can hold, and let the audience compound over months rather than chasing an overnight hit that will not come.
The path is simple to describe and hard to sustain, which is exactly why so few accounts make it past the first month. If you commit to the eight steps above and treat consistency as non-negotiable, you will already be ahead of most. Test your first looks for free with our AI image generator, then scale the workflow that fits your niche and your time.
One last reframe worth holding onto: an AI influencer is a creative project that happens to use AI tools, not an AI project that happens to look creative. The tools are commodities now, available to everyone. What no one else has is your specific persona, your taste in images, and your willingness to show up for ninety days while the audience builds. That is the part that cannot be automated, and it is the part that actually determines whether the account works.
Frequently asked questions
Do I need to know how to code to make an AI influencer?
No. You can start entirely with web apps and persona tools that require no coding at all. The trade-off is less control over poses and consistency. Coding is never required, but learning a local tool like ComfyUI or Forge gives you stronger face-locking and a more professional, repeatable workflow once you are serious about scaling the account.
How long does it take to grow an AI influencer?
Plan for months, not days. Most accounts see little traction for the first two to four months while the feed builds depth and the algorithm learns your niche. Growth tends to compound once you have a substantial content library and consistent posting. Treat the first quarter as building, not earning, and keep a buffer so you never go dark.
Is making an AI influencer legal?
Creating a fictional AI character is generally allowed, but rules vary by country and platform. The key lines are: never impersonate a real, specific person, never use a real individual’s face, and follow each platform’s AI-disclosure and content rules. Adult content has extra age-verification and consent requirements. For anything involving money, contracts, or risk, consult a lawyer rather than relying on a guide.
What is the single most important step?
Locking a consistent face and body. Everything else can be average and your account can still grow, but if your character looks like a different person in every post, the illusion breaks and people will not follow. Get one perfect face, carry it with a face-reference method, then train a character LoRA once you have enough clean images of it.
How many images should I have before launching?
Aim for 30 to 50 finished images so you have a full month of posts ready before you go live. This buffer keeps your feed active while you handle growth, engagement, and the next batch. Vary outfits, locations, lighting, and poses while keeping the face identical so the feed feels like a real life rather than a stack of renders.
Do I have to disclose that my influencer is AI?
Yes, on most platforms it is now required. Instagram, TikTok, and others ask creators to label AI-generated content, and presenting a synthetic character as a real human violates their terms. Add an AI or virtual-model note to your bio and use the platform’s built-in AI tags. Rules change often, so check the current terms of service for each platform you use.
Can I make an adult or NSFW AI influencer?
Yes, but on different platforms. Mainstream apps like Instagram ban explicit content, so adult AI models live on fan platforms built for it. You still must keep the character clearly fictional, follow age-verification and consent rules, and never use a real person’s likeness. Our NSFW-specific guides cover the tools and platform rules for adult virtual models in detail.
How much does it cost to start?
You can start for free using browser-based generators and free social accounts. Costs rise when you add paid generator subscriptions, GPU rental or a capable graphics card for local tools, video generation, and scheduling software. Many creators begin free, validate that a persona gets traction, then reinvest early revenue into better tools rather than paying upfront for a full stack.