To get real bokeh, pair a fast-lens tag block (85mm f/1.8, bokeh, shallow depth of field, subject isolation, creamy background blur) with a distant background the lens can dissolve, keep CFG low, and finish with an img2img pass. Fake bokeh is a flat gaussian smear. Real bokeh has round highlights and a focus plane that falls off with distance.
What real bokeh actually is
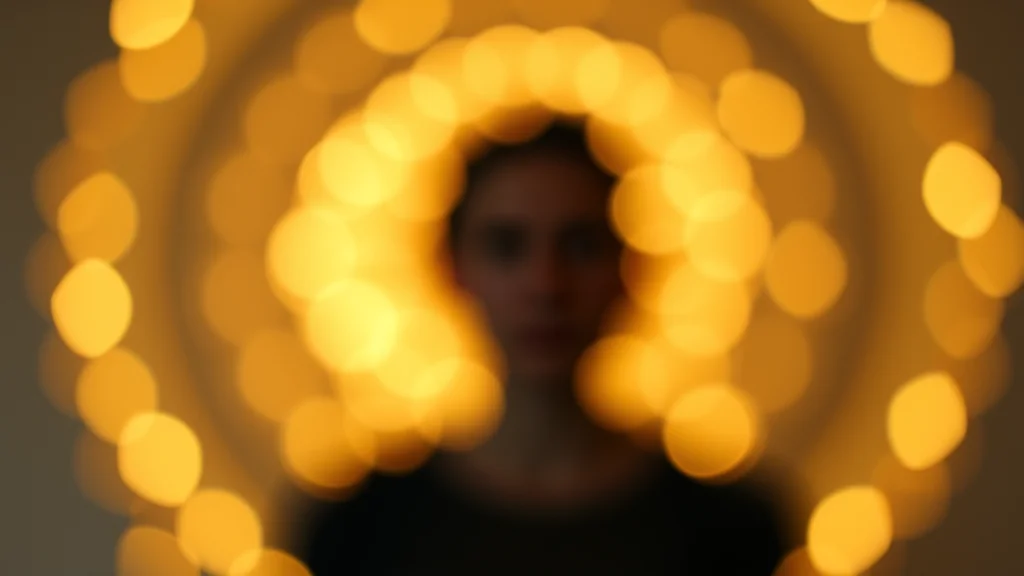
Bokeh is not just a blurry background. It is the specific way an out-of-focus area renders through a fast lens: point highlights become soft glowing discs, the transition from sharp to blurred follows the distance from the focus plane, and the subject pops off the background because only a thin slice of the scene is sharp. Photographers chase it with wide apertures (f/1.2 to f/2) and longer focal lengths because that combination melts a background into a creamy wash while keeping the eyes tack sharp.
AI fakes this badly by default. The classic tell is a uniform gaussian blur laid over the whole background like a filter, with no distance gradient and no highlight discs. The second tell is “doubled” or “busy” bokeh, where the model half-renders background objects into mushy duplicates instead of dissolving them. The third is a blurred subject, where the model blurs everything including the face because it read “blur” too literally. Good bokeh means a sharp subject, a soft background, and round specular highlights, all responding to depth. It pairs naturally with the camera angle prompt playbook, since angle and distance drive how much background you have to blur.
Every subject here is a fictional adult. Treat bokeh as a lens effect on an original character, not a way to reproduce any real person.
Best checkpoints and LoRAs for bokeh
Any photoreal SDXL model can do bokeh, but the ones with strong lens simulation give you round highlights instead of a flat blur. Sharper base models with good optical training respond best to aperture tags.
| Model | Base | Why it suits bokeh |
|---|---|---|
| RealVisXL V5 | SDXL | Best lens simulation, renders true highlight discs and distance falloff |
| epiCRealism | SDXL | Natural subject separation, clean creamy background |
| Lustify SDXL | SDXL | Holds sharp subject anatomy while blurring the background correctly |
| Juggernaut XL | SDXL | Strong depth cues, good for full-body isolation shots |
| FLUX.1 dev | FLUX | Cleanest optical bokeh available, heavier and slower |
A “depth of field” or “bokeh” LoRA at 0.3 to 0.5 weight strengthens the highlight discs when a checkpoint is being stubborn. Do not overweight it or the whole frame goes soft. The best NSFW LoRAs list and the RealVisXL guide cover which ones actually add optical blur versus fake smear.
The prompt: aperture, focal length, and isolation tags
Bokeh is driven by three ideas: a wide aperture, a long-ish focal length, and explicit subject isolation. Name all three.
photograph of an adult woman, 85mm f/1.8 lens, shallow depth of field,
bokeh, creamy background blur, subject isolation, sharp focus on face,
blurred background, out of focus city lights, bokeh balls, soft highlights,
professional portrait, natural skin, high detail, shot on DSLR
85mm f/1.8 sets the classic portrait aperture and compression that produces the melt. shallow depth of field and subject isolation tell the model to keep only the subject sharp. out of focus city lights, bokeh balls is the tag that forces round specular highlights, which is what separates real bokeh from a gaussian smear: give the background something to turn into discs. sharp focus on face is the guard rail that stops the model from blurring the subject. For more on stacking light and background tags, the lighting prompt guide is the companion reference. If you want the reverse effect (everything sharp), the wide-angle look deliberately avoids aperture blur.
The background choice matters as much as the tags. A plain wall gives the lens nothing to dissolve, so bokeh looks flat. A distant street, foliage, or string lights gives point highlights that render as discs.
Negative prompt
Keep the negative tight. The main job is stopping the model from blurring the subject or faking a flat smear.
blurry face, soft focus on subject, out of focus eyes, gaussian blur,
flat blur, motion blur, double exposure, busy background, cluttered,
plastic skin, oversaturated, cgi, 3d render, deformed hands,
watermark, text, low quality
blurry face, soft focus on subject, out of focus eyes are the guards that keep the subject sharp. gaussian blur, flat blur push the model away from the fake filter look and toward optical falloff. busy background, cluttered reduce the doubled-object mush. The negative prompt master list has more targeted blocks if a specific checkpoint keeps softening the face.
Settings: sampler, CFG, steps, resolution
| Setting | Value | Note |
|---|---|---|
| Sampler | DPM++ 2M Karras | Sharp subject, smooth background gradient |
| CFG scale | 5 to 6 | Enough to hold the isolation without hardening skin |
| Steps | 30 to 35 | Fine highlight discs need the extra steps |
| Base resolution | 832×1216 | Portrait ratio isolates the subject naturally |
| Upscale | 1.5x, denoise 0.25 | Low denoise keeps the blur from re-sharpening |
| Depth guidance | Optional ControlNet depth | Force a real focus plane if the model resists |
At high CFG the model tends to sharpen the background back up, undoing the bokeh, so stay at 5 to 6. The settings guide explains why.
Step-by-step workflow
- Choose a background with point highlights (street lights, foliage backlight, a distant window) and describe it in the prompt so the lens has something to turn into discs.
- Generate at 832×1216 with the aperture block above. Batch several seeds and pick the frame where the face is sharp and the background is genuinely soft, not the one with the most blur.
- If the background is only half blurred, add a short img2img pass at 0.25 denoise with the same prompt to deepen the falloff without repainting the subject. The img2img guide covers denoise choices.
- Run ADetailer on the face so the sharp plane stays crisp against the soft background.
- Upscale 1.5x at low denoise so the bokeh does not re-sharpen. If you upscale too aggressively the discs harden into edges.
Where bokeh breaks, and the fix
| Failure | Cause | Fix |
|---|---|---|
| Flat gaussian smear | No highlight source in background | Add out of focus city lights, bokeh balls |
| Subject is also blurry | Model read blur too broadly | Add sharp focus on face positive, blurry face negative |
| Doubled, mushy objects | Busy background at mid distance | Push background farther, add busy background to negative |
| No depth gradient | Missing aperture and focal tags | Add 85mm f/1.8, shallow depth of field |
| Bokeh vanishes after upscale | Upscale denoise too high | Drop to 0.25, use a gentle upscaler |
| Background too sharp | CFG too high | Lower CFG to 5, or add ControlNet depth |
If the blur still looks like a filter after all this, the blurry image fix guide separates good subject-sharp bokeh from a genuinely soft, broken render, which are two very different problems.
Focal length and aperture pairings
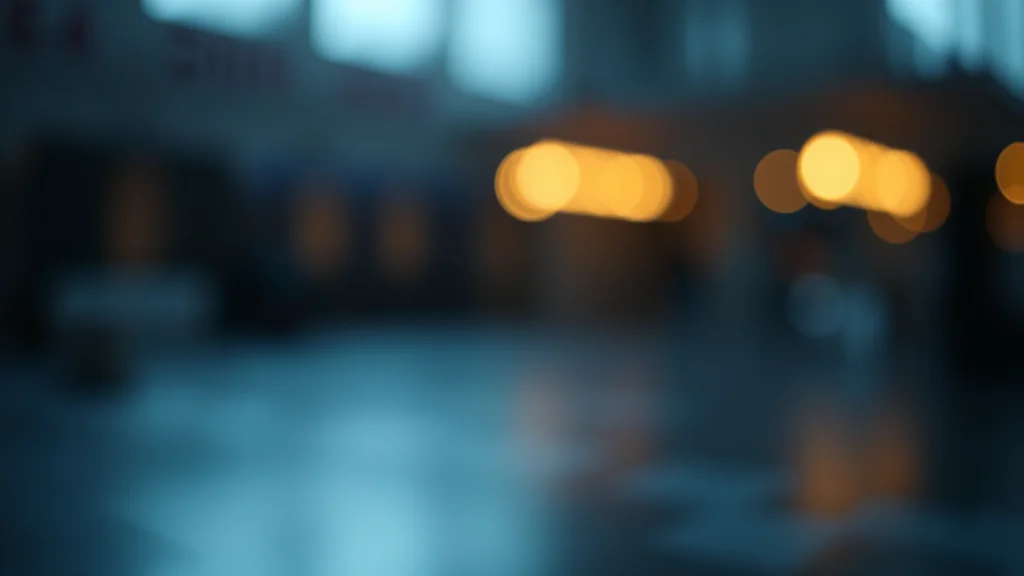
Bokeh strength is a product of two variables: how wide the aperture is and how long the lens is. Wide apertures gather more light and shrink the depth of field, so f/1.2 blurs far more than f/2.8. Longer focal lengths compress the background and magnify the blur, so 135mm melts more than 50mm at the same aperture. Naming both in the prompt gives you precise control over how aggressive the melt looks.
| Lens and aperture | Blur strength | Character |
|---|---|---|
| 50mm f/1.4 | Moderate | Keeps some background context |
| 85mm f/1.8 | Strong | Classic portrait isolation |
| 105mm f/1.4 | Very strong | Creamy, dreamy separation |
| 135mm f/2 | Maximum | Background fully dissolved |
A common mistake is asking for extreme blur with a wide lens like 24mm, which physically produces very little bokeh, so the model renders a confused half-blur. Match the request to real optics: if you want a dissolved background, name a long lens and a wide aperture together, not one or the other.
Foreground bokeh and layered depth
The most convincing bokeh has depth on both sides of the subject, not just behind. Real photographers shoot through foreground objects (foliage, fabric, string lights) that blur into soft color washes at the front of the frame, which frames the subject and sells the shallow depth of field. Add foreground bokeh, shooting through foliage, blurred foreground to place a soft element in front. The subject stays sharp between a blurred foreground and a blurred background, and the eye immediately reads the frame as a fast-lens photograph.
Layering also fixes the flat-background problem. If a scene only has a subject and a distant wall, there is nothing at mid distance to show the falloff. Adding a foreground element gives the blur a gradient to work across, so the isolation looks optical rather than pasted. Use this sparingly: one soft foreground element reads as intentional, while a cluttered foreground turns into distracting mush.
Bokeh shape and lens character
Not all blur is round. The shape of the out-of-focus highlights depends on the lens aperture blades, and you can hint at it. creamy bokeh, round highlights gives the smooth modern look, while swirly bokeh, vintage lens, Helios produces the spiraling background character of old Soviet glass that some shooters love. cat eye bokeh describes the lens-edge highlights that stretch toward the frame corners. These character tags are optional, but they push the render away from the default gaussian smear toward something that behaves like a real piece of glass, which is exactly what separates convincing bokeh from a filter.
Why subject isolation is the real goal
It helps to reframe what you are actually after. Bokeh is a means, not an end: the point is subject isolation, making the viewer’s eye lock onto the subject because everything else is soft. Once you think in those terms, your tag choices sharpen. You are not trying to blur a background for its own sake, you are trying to separate a subject from it. That separation comes from three things working together: the aperture blur, a tonal or color contrast between subject and background, and often a rim or edge light that traces the subject’s outline.
When bokeh alone does not isolate the subject enough, add contrast. A subject in a light outfit against a dark, blurred background pops far more than a light subject on a light background, no matter how strong the blur. A subtle rim light behind the subject draws a bright line around them that lifts them off the soft field. These are the same separation tools studio photographers use, applied to a fast-lens look. Thinking in terms of isolation rather than blur keeps you from over-blurring, which is its own failure where the image turns mushy and the subject loses context entirely.
Distance is the free variable
The single most underused lever for bokeh is distance, and it costs nothing. The blur in a real photograph depends on how far the background sits behind the subject and how close the camera is to the subject. A background one meter behind is only mildly soft, while a background twenty meters back at the same aperture is fully dissolved. You can steer this in the prompt with scene tags like distant background, subject in foreground, wide open space behind versus background close behind subject.
The same logic applies to the camera-to-subject distance. A tight headshot at f/1.8 blurs harder than a full-body shot at the same aperture, because the focus plane is thinner up close. So if your bokeh is coming out weak even with a wide aperture tag, the fix is often to describe more distance behind the subject or a tighter crop, rather than reaching for an even wider aperture. Once you internalize that distance and crop drive the blur as much as the glass, you stop fighting the model and start directing it, and the upscaling guide then keeps that carefully built separation intact through enlargement.
Testing whether your bokeh is real
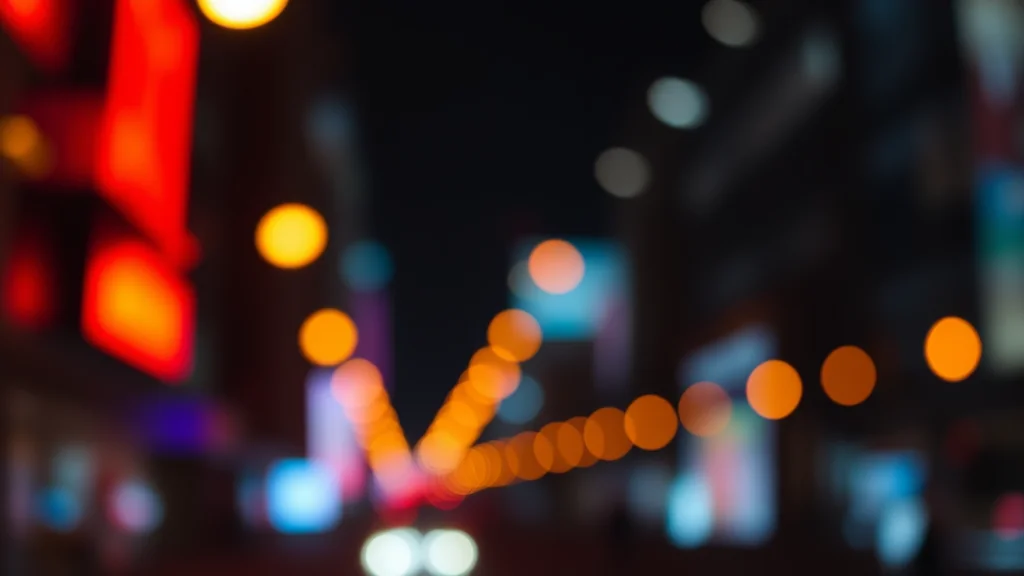
There is a quick test to judge any bokeh render before you commit to upscaling. Zoom into the background and look for two things. First, is there a distance gradient, where objects nearer the subject are only slightly soft and objects farther away are fully dissolved? A real lens produces that gradient; a fake gaussian filter blurs everything by the same amount. Second, do bright points in the background render as soft round or shaped discs rather than smeared blobs? Genuine bokeh turns highlights into defined shapes.
If both are present, the render is optically believable and worth enlarging. If the blur is uniform and the highlights are flat, re-roll with stronger aperture and highlight tags rather than trying to save it in post, because you cannot add a distance gradient after the fact. Running this two-part check on every frame trains your eye fast, and within a few sessions you will spot fake bokeh at a glance and know exactly which tag to reach for to fix it.
When to level up
Once optical bokeh is reliable, control it precisely. A ControlNet depth map lets you define exactly where the focus plane sits, so you can rack focus to the eyes every time instead of hoping the model isolates correctly. Longer focal tags (135mm f/2) compress the background even more for a dreamier melt, while 50mm f/1.4 keeps a touch more context. Pair bokeh with directional light for a backlit rim that makes the subject pop off the creamy background, and the effect starts to look like a real fast-lens portrait rather than an AI approximation. A careful upscale then enlarges the frame without hardening the discs.
Frequently asked questions
Why does my AI bokeh look like a flat blur instead of real background melt?
Your background has nothing for the lens to dissolve into highlight discs. Add point light sources like out of focus city lights or bokeh balls, and place the background farther from the subject so the distance falloff can render.
How do I stop the subject’s face from going blurry?
Add sharp focus on face to the positive prompt and blurry face plus out of focus eyes to the negative. The model sometimes reads a blur tag too broadly and softens everything, so you need explicit guard rails on the subject.
What aperture tag gives the strongest bokeh?
f/1.2 to f/1.8 combined with an 85mm or 135mm focal length. The wide aperture melts the background and the longer focal length compresses it, which together produce the creamy isolation photographers chase.
Which checkpoint renders the most realistic bokeh?
RealVisXL V5 has the best lens simulation and renders true highlight discs with a real distance gradient. FLUX is even cleaner optically but is slower and heavier on VRAM, so RealVisXL is the practical daily pick.
Why does the background sharpen back up after I upscale?
Your upscale denoise is too high and the model is repainting the background as sharp. Drop denoise to about 0.25 and use a gentle upscaler so the blur and highlight discs survive the enlargement.
Can I control exactly where the focus falls?
Yes, with a ControlNet depth map. It lets you define the focus plane precisely so the sharp slice always lands on the eyes, instead of relying on the model to isolate the subject correctly on its own.
Do I need a bokeh LoRA?
Not usually. A strong photoreal checkpoint plus aperture tags is enough. A bokeh or depth-of-field LoRA at 0.3 to 0.5 weight helps only when a stubborn model refuses to render round highlights, and overweighting it softens the whole frame.
What is the difference between good bokeh and a broken blurry image?
Good bokeh has a razor sharp subject against a soft background. A broken image is soft everywhere, including the eyes. If the face is not crisp, you have a focus failure, not bokeh, and it needs a re-roll or a sharpening pass.
Related scene how-tos: