To make a believable nightclub NSFW AI scene, build a dark interior first: a bar, a dance floor, neon signs, and haze in the air. Light it with colored spotlights (magenta and cyan), let atmospheric fog scatter the beams, and place blurred crowd silhouettes behind the subject for depth. Then fix blown highlights, muddy blacks, and garbled crowds in post.
Why a nightclub is a hard interior to fake
A nightclub is the opposite of a bright office or a sunlit room, and that is exactly what makes it difficult. The scene is mostly dark, which means the model has huge areas of shadow to fill and very little reference to anchor the geometry. On top of that, the light is colored, saturated, and directional, coming from spotlights and neon rather than a soft window. And the space is full of people, which the model loves to render as a mess of melted faces and fused limbs. So you are asking the generator to handle deep blacks, punchy colored light, atmospheric haze, and a crowd all at once. Any one of those can wreck the image.
The payoff is that when a club scene works, it works hard. The colored light sculpts skin, the haze gives every beam a visible shaft, and the blurred crowd behind the subject creates instant depth and energy. The trick is to control the chaos: keep the crowd out of focus so the model never has to render a clean face in the background, lean on haze so the light has something to bite into, and expose for the subject so the neon does not blow out. This guide covers the props, the colored lighting, the staging, a copy paste prompt, and the four failures that show up most.
If you have not worked with dark interiors before, the setting prompt tags guide gives a good foundation before you dive into the club specifics.
The setting and prop prompt tags
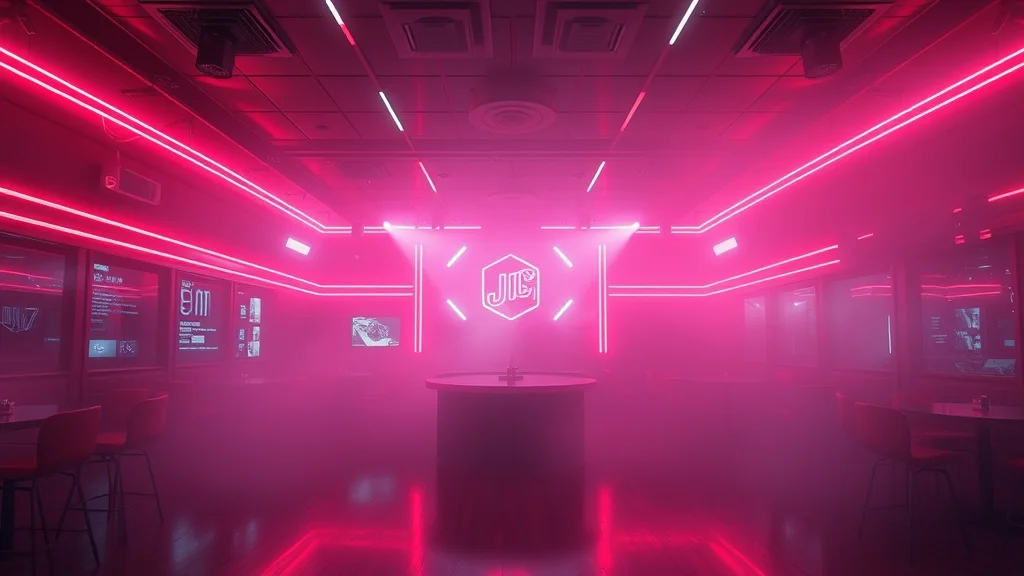
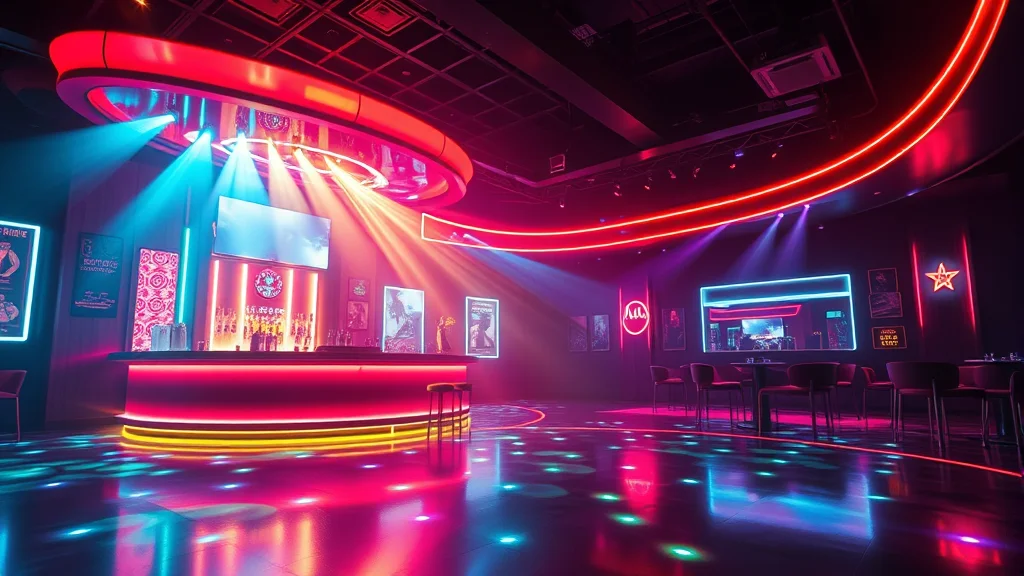
A nightclub reads as a nightclub because of a handful of unmistakable props: neon signage, a lit bar, a dance floor, DJ or booth gear, and haze. You do not need all of them in one frame. Pick the two or three that suit your composition and let the lighting carry the rest.
Lead the prompt with the interior and the darkness, then the props, then the light color, then the atmosphere. Here is a tag table to pull from.
| Element | Strong prompt tags |
|---|---|
| The space | dark nightclub interior, club at night, low ceiling club, dance floor, VIP booth, dim lounge |
| Bar and gear | lit bar counter, backlit liquor shelves, glowing bar, DJ booth, turntables, speaker stacks |
| Signage | neon signs, glowing neon lettering, LED strips, pink neon glow, blue neon accents |
| Light beams | colored spotlights, magenta spotlight, cyan spotlight, laser beams, moving head lights, light shafts |
| Crowd and depth | blurred crowd silhouettes, dancing crowd in background, out of focus people, bokeh crowd |
| Atmosphere | atmospheric haze, fog machine mist, smoky air, hazy light shafts, thick club atmosphere |
The token that makes or breaks the scene is “atmospheric haze” (or “fog machine mist”). Without airborne particles, colored spotlights have nothing to scatter through, so the beams disappear and the club looks flat and dry. With haze, every spotlight throws a visible shaft and the whole frame gains volume. Keep it near the front.
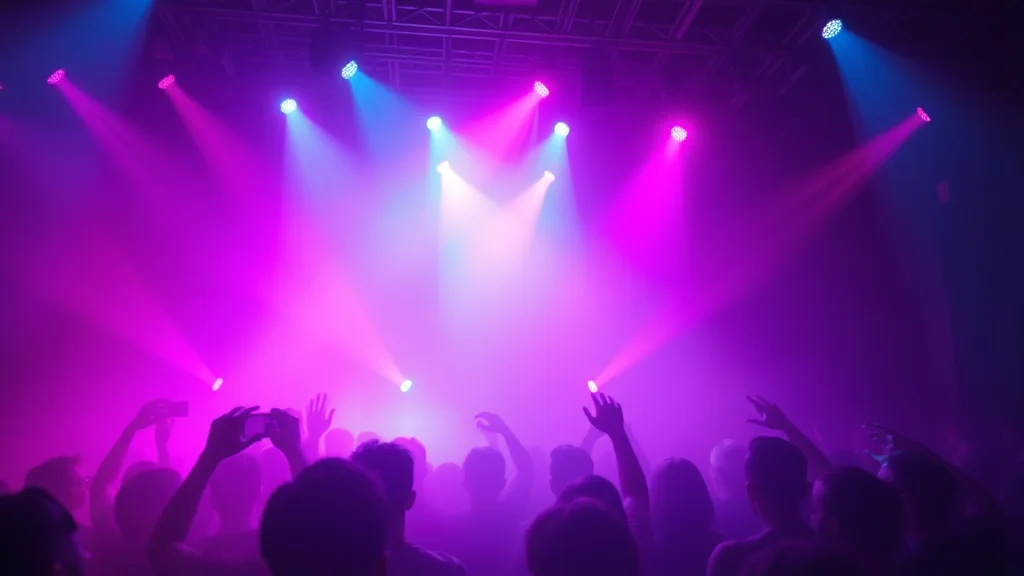
The second key token is “blurred crowd silhouettes.” This is a deliberate cheat: by asking for out of focus people, you get the depth and life of a packed room without forcing the model to render clean background faces, which it will botch. For more on setting the overall vibe, the mood and atmosphere prompt tags add words like “energetic,” “sultry,” and “electric.”
How to light a nightclub
Club lighting is colored, directional, and layered. You want at least two colored sources plus the ambient glow of the neon and bar. The classic look is a magenta and cyan split: a warm pink spotlight from one side and a cool cyan or blue spotlight from the other. This two color rim setup wraps the subject in complementary light and looks unmistakably like a club.
Name the colors and the direction. Prompt “magenta spotlight from the left,” “cyan rim light from the right,” and “neon glow.” The colored rims separate the subject from the dark background without any bright fill, which keeps the mood intact.
Haze is half of the lighting. Once you add “atmospheric haze,” each spotlight becomes a visible shaft cutting through the air, and lasers read as clean lines. This is the single biggest upgrade you can make to a club render. If you want to understand how directional colored light shapes a subject, the lighting prompt reference has phrasing, and a club scene is essentially a colored variant of a backlit setup where the rims come from the sides instead of straight behind.
Expose for the subject, not the neon. The most common mistake is letting the bright signs and spotlights blow out to pure white. Keep the neon slightly under peak so it glows rather than clips, and let the subject sit in the pool of colored light. For grading the final image toward that saturated club look, the color grading prompt tags are worth a look, since a club shot benefits from pushed magenta and teal.
Think of the light in three tiers of brightness. The brightest tier is the subject, lit by the colored rims, which should draw the eye first. The middle tier is the glowing bar and the nearest neon, bright enough to read but not competing with the subject. The dimmest tier is the crowd and the deep room, which should sit in shadow and haze. When these three tiers are clearly separated, the image has a natural focal hierarchy and the club feels deep. When they are all equally bright, the frame turns into visual noise with no clear subject. You can enforce this by keeping the subject rims a touch brighter than any background light and letting everything behind her fall off fast.
Staging, subject placement, and depth
Place the subject in the midground, standing or leaning at the bar, on the edge of the dance floor, or in a booth. Behind her, the blurred crowd and the neon fall into soft focus. In front, you can let the near edge of the bar or a foreground figure blur slightly. That foreground, midground, background stack is what gives a dark scene readable depth instead of a flat black void.
The subject should be lit clearly by the colored rims so she pops against the dark room. If the background is a wall of solid black, add a distant neon sign or a cluster of bokeh crowd lights so the eye reads distance. Depth in a club comes almost entirely from lights receding into haze, so scatter a few small bright points deep in the frame.
For angle, eye level or a slightly low angle looking up works well because it makes the subject feel dominant in the space and lets the light shafts rake across the frame. The camera angle prompt tags list the exact tokens. Keep the subject an original adult character and keep any crowd purely as anonymous silhouettes, never identifiable faces.
Distance matters when placing the crowd. Keep the nearest crowd figures at least a few feet behind the subject so they fall clearly out of focus and never share her sharpness. If a background figure sits too close to the subject’s focal plane, the model will try to resolve its face and fail. Push the crowd back, blur it, and let it read as a wall of dark shapes lit by stray neon. The same goes for any props like glasses or bottles on the bar: keep them either sharply in the foreground or fully soft in the background, never in the awkward middle distance where the model renders them as garbled clutter.
A full copy paste example prompt
Here is a complete positive and negative block tuned for a dark, hazy, colored club interior.
Positive:
photorealistic, an adult woman at the edge of a dance floor in a dark nightclub, lit bar and backlit liquor shelves behind, glowing neon signs, magenta spotlight from the left, cyan rim light from the right, laser beams, thick atmospheric haze, visible light shafts, blurred crowd silhouettes in the background, out of focus bokeh club lights, sultry electric mood, shallow depth of field, 50mm lens look, detailed skin texture, saturated cinematic color grade, deep shadows

Negative:
bright interior, daylight, flat lighting, blown out highlights, clipped white neon, garbled crowd faces, fused bodies, melted faces in background, extra limbs, deformed hands, muddy black background, washed out colors, watermark, text, lowres, cartoon, plastic skin
Swap the subject for an adult man or a couple as needed, and change the neon colors to fit your palette. If the character has to stay identical across several club shots, run the set through a consistent photo set workflow or one of the character consistency techniques.
Sampler, CFG, and checkpoint notes
Dark scenes with saturated color need a sampler that holds gradients in the shadows without banding. DPM++ 2M Karras at 30 to 35 steps is a solid baseline. If you see color banding in the dark falloff or the haze looks stepped, switch to DPM++ SDE Karras, which smooths those transitions.
CFG should stay moderate, roughly 5 to 7. High CFG on a saturated colored scene pushes the neon past clipping and turns the magenta and cyan into flat blocks of pure color with no gradient. Lower CFG keeps the light glowing and the falloff smooth. The CFG and sampler settings guide explains the tradeoffs.
For the checkpoint, a strong realism model matters because you need believable skin under heavy colored light. RealVisXL and epiCRealism both handle saturated rim light without turning skin to plastic. For Pony based anatomy control, CyberRealistic Pony works well. See the full checkpoint roundup for more.
| Setting | Recommended start | Notes |
|---|---|---|
| Sampler | DPM++ 2M Karras | Switch to SDE Karras if shadows band |
| Steps | 30 to 35 | Higher steps help haze and lasers |
| CFG | 5 to 7 | Low CFG keeps neon glowing, not clipped |
| Resolution | 832×1216 portrait | Upscale after rendering |
| Checkpoint | RealVisXL or epiCRealism | Realism model for skin under color |
Where it breaks and how to fix it
Four failures dominate club renders. Here is how to catch and repair each.
Blown out highlights and clipped neon
The neon and spotlights clip to pure white, losing all color and glow. This comes from exposing for the dark room instead of the lights. Fix it in the prompt with “neon glow, not clipped” and by adding “blown out highlights” and “clipped white neon” to the negative. In post, pull the highlights down in your editor so the signs regain their color, or inpaint the blown areas to repaint a saturated glow with a soft falloff. The photo editing workflow covers highlight recovery.
Garbled crowd faces
The background crowd renders as melted faces and fused bodies. This is the model trying to render detail where it should not. The fix is to force the crowd out of focus: prompt “blurred crowd silhouettes,” “out of focus people,” and “bokeh crowd,” and put “garbled crowd faces” and “melted faces in background” in the negative. If a bad face still sneaks in, inpaint it into a soft dark silhouette or blur it further. Never let a background face resolve to clean detail, because the model cannot do it convincingly at that scale.
Muddy, flat black background
The dark areas turn into a featureless black smear with no depth. The scene needs distant light points to read as a room. Add “distant neon signs,” “bokeh club lights in the background,” and “light shafts receding into haze.” Haze is the fix here too, since airborne particles catch stray light and keep the blacks from going dead. If the render is still flat, paint a few small bright bokeh dots deep in the frame in your editor to imply depth.
Color contamination on skin
Heavy magenta and cyan rims can tint the entire subject an unnatural color so she looks purple or teal all over instead of a person lit by colored light. The fix is to leave a little neutral light on the subject, usually a small area of the face or the front of the body that stays closer to natural skin tone while the rims stay colored. Prompt “natural skin tone on the face, colored rim light on the edges” to preserve that anchor. In post, you can pull some of the color cast off the midtones of the skin in your editor while keeping the saturated rims, which restores a believable person under club light rather than a monochrome silhouette.
Weak or invisible light beams
The spotlights and lasers are there but you cannot see the beams, so the club looks dry and flat. This is a missing haze problem. Strengthen “thick atmospheric haze,” “visible light shafts,” and “smoky air” in the prompt. If the model still renders clean air, generate a hazier variant and blend it, or paint soft volumetric shafts along the spotlight directions on a screen layer. The get better results guide has more on adding atmosphere, and if the whole frame comes out soft, run the blurry image fix.
Conclusion
A nightclub NSFW scene is a controlled chaos exercise. Build the dark interior, drop in a bar and neon signs, and fill the air with haze so your colored spotlights throw visible shafts. Use a magenta and cyan split to rim the subject, keep the crowd blurred so the model never has to render a background face, and expose for the subject so the neon glows instead of clipping. When highlights blow out, crowds garble, blacks go muddy, or beams vanish, fix each locally rather than rerolling. Nail those and your club scene will feel electric and deep. For a brighter interior alternative, compare with the office scene guide, and for an outdoor night mood, see the rooftop scene guide.
Frequently asked questions
How do I make my nightclub scene look dark and moody instead of a bright room?
Lead the prompt with dark nightclub interior and deep shadows, then rely on colored spotlights and neon for illumination rather than any soft fill. Add bright interior, daylight, and flat lighting to your negative prompt. Expose for the subject in the pool of colored light and let the rest of the room fall into shadow so the neon reads as the brightest thing in frame.
Why does the crowd behind my subject have melted faces?
The model cannot render clean faces at background scale, so it produces mush. The fix is to force the crowd out of focus. Prompt blurred crowd silhouettes, out of focus people, and bokeh crowd, and add garbled crowd faces and melted faces in background to the negative. If a bad face still appears, inpaint it into a soft dark silhouette rather than trying to sharpen it.
How do I get visible light beams from the spotlights?
You need airborne particles for the light to scatter through. Add thick atmospheric haze, fog machine mist, and visible light shafts to the prompt. Without haze the beams are invisible and the club looks dry. If the model still renders clean air, generate a hazier variant and blend it, or paint soft volumetric shafts along the spotlight directions on a screen layer in your editor.
What colored lighting looks most like a real club?
A magenta and cyan split is the classic club look. Prompt a magenta spotlight from one side and a cyan or blue rim light from the other so the complementary colors wrap the subject. Name the direction of each source. This two color rim setup separates the subject from the dark background without any bright fill, which keeps the mood intact.
How do I stop the neon signs from blowing out to white?
Expose for the subject, not the neon, and keep the signs just under peak brightness so they glow rather than clip. Add blown out highlights and clipped white neon to your negative prompt. In post, pull the highlights down in your editor to restore the color, or inpaint the blown areas to repaint a saturated glow with a soft falloff.
Which checkpoint handles heavy colored light best?
A strong realism model is important because saturated colored light can turn skin to plastic on weaker checkpoints. RealVisXL and epiCRealism both hold believable skin under magenta and cyan rims. For Pony based anatomy control, CyberRealistic Pony works well. Avoid stylized checkpoints for a photoreal club scene.
What CFG should I use for a dark, saturated club scene?
Keep CFG moderate, around 5 to 7. High CFG on a saturated colored scene pushes the neon past clipping and flattens the magenta and cyan into blocks of pure color. Lower CFG keeps the light glowing and the shadow falloff smooth. Pair it with DPM++ 2M Karras at 30 to 35 steps, and switch to SDE Karras if the dark areas band.
How do I add depth to a mostly black club background?
A dark room needs distant light points to read as a space. Add distant neon signs, bokeh club lights in the background, and light shafts receding into haze. Haze itself adds depth by catching stray light so the blacks are not dead flat. If the render is still flat, paint a few small bright bokeh dots deep in the frame in your editor to imply distance.