Put the light behind your adult subject and lift the front just enough to read. On a realism checkpoint, prompt backlit, rim light, sun behind subject, glowing hair, contre-jour, lens flare plus a subtle fill light on face so it does not go pure black. Keep the fill gentle, and the body reads as a glowing edge with detail.
Backlight is the most romantic and the most technically punishing look you can prompt. The light sits behind the adult subject, wraps their hair and shoulders in a bright halo, throws a flare into the lens, and turns loose strands into fiber-optic threads. It is gorgeous. It is also the look most likely to collapse into a featureless black shape with a bright outline, because that is literally what a camera does when it meters for the background instead of the face. The entire craft here is balancing the glowing edge against a front that is still readable. Get that balance and you have the single most cinematic image in your library.
What the backlit look actually is
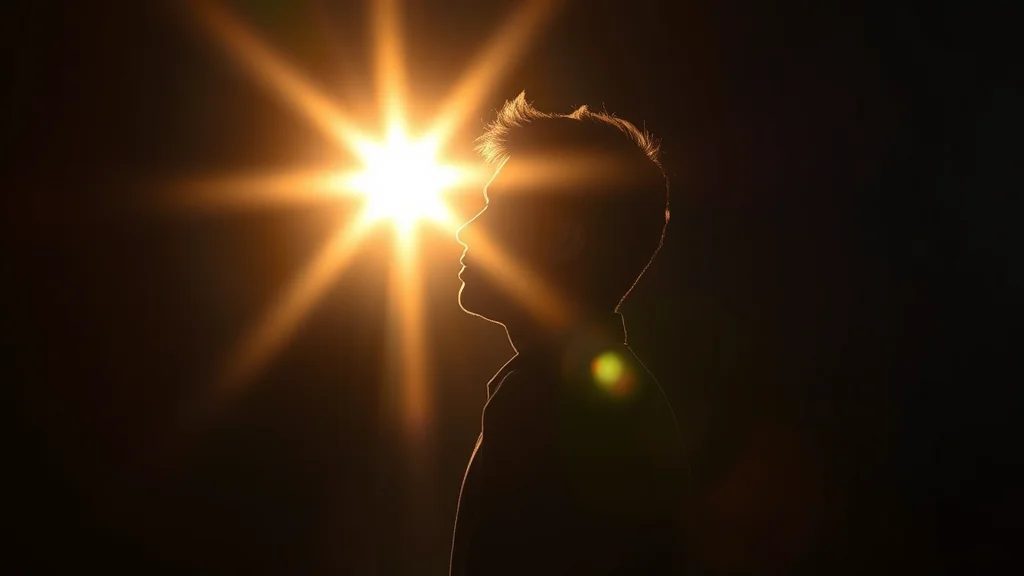
Backlighting means the key light is behind the subject, facing the camera. In photography this is called contre-jour, French for “against daylight.” Because the light comes from behind, the front of the subject falls into shadow. What saves the image from being a pure silhouette is a small amount of fill: light bouncing off the ground, a wall, a reflector, or a weak second source that lifts the face out of black.
The signatures you are reproducing:
- A bright rim or halo tracing the top and edges of the body and hair.
- A front that is darker than the background but still shows detail.
- Optional lens flare, haze, or glow where the light hits the lens.
- Backlit hair that glows, with individual strands catching light.
- A luminous, dreamy, high-contrast atmosphere.
People confuse this with golden hour, and they overlap, but they are not the same target. Golden hour is about the color and softness of low sun. Backlight is about the direction of the light, and it works at noon, indoors with a window, or with a studio strobe behind the subject. The sibling guide on golden hour NSFW AI photos is the one to read if you want warm evening color specifically. This guide is about the direction, any time of day. You can absolutely combine them, warm backlight at sunset is a classic, but keep the two levers separate in your head so you can dial each one independently.
It also overlaps with the bokeh look, since backlight through foliage or city lights produces glowing out-of-focus orbs behind the subject. If those glowing circles are what you are chasing rather than the rim itself, the sibling bokeh NSFW AI photos guide is the better starting point. Here the star is the edge light on the body, not the background blur, though the two pair naturally in the same frame.
Every subject here is an adult, original and fictional, never modeled on a real identifiable person.
Why backlight is so hard for AI
The reason backlight fails so often is the same reason it is hard for a real camera: the dynamic range between the bright halo and the shadowed face is enormous, and the model has to render both convincingly in one frame. Left to its defaults, an AI model treats “backlit” as “dark,” and crushes the whole front of the subject into an unreadable shape. Or it overcorrects, lifts the front so much that the backlight stops reading, and you get a flat portrait with a vaguely bright background. The knife-edge you are walking is a prompt that demands a strong rim while insisting on a soft fill. Miss either half and the look breaks. Almost every fix in this guide comes back to that one tension, so keep it front of mind as you build the prompt.
Best checkpoints and LoRAs for backlit shots
You want a model with wide tonal range and good handling of highlights, because a blown-out halo with no gradient looks fake. Models that clip highlights harshly will turn your beautiful rim into a white blob.
| Model | Base | Why it fits backlit |
|---|---|---|
| RealVisXL V5 | SDXL | Wide dynamic range, renders the bright-to-dark gradient across the subject smoothly. |
| epiCRealism | SD 1.5 | Warm skin that glows naturally when light rims the edge. |
| Lustify SDXL | SDXL | Handles atmospheric haze and flare without turning muddy. |
| FLUX.1 | FLUX | Best-in-class light gradients and flare realism when you have the hardware for it. |
FLUX deserves a note: it renders flare, haze, and rim light more believably than most SDXL checkpoints, at the cost of speed and NSFW flexibility. If you have access, test it for hero backlit frames. The FLUX NSFW guide covers where it shines and where it does not. For SDXL work the RealVisXL NSFW guide and the best NSFW LoRAs list can point you at atmosphere and light-focused add-ons. A soft-light or cinematic-atmosphere LoRA at 0.3 to 0.5 strengthens the glow, but do not lean on it to fix a broken fill balance.
The prompt: camera, lens, and light tags
Order the tags so the model reads “light behind, front lifted.” Lead with the backlight, immediately follow with the fill, so the model does not run away with a pure silhouette.
backlit, strong rim light, sun behind subject, contre-jour,
glowing hair, hair haloed by light, bright edge light on shoulders,
beautiful adult woman, subtle soft fill light on face,
face still visible, gentle front illumination, lens flare,
atmospheric haze, dreamy glow, luminous, golden light spill,
shot into the light, cinematic backlight, 85mm, shallow depth of field
Notes on the tags:
strong rim lightplusbright edge light on shouldersbuilds the halo. This is the reward tag.subtle soft fill light on faceandface still visibleare the rescue tags. Never omit them or you get a black silhouette.lens flareandatmospheric hazeadd the dreamy quality. Drop them if you want a cleaner rim without glow.glowing hair, hair haloed by lightis the detail that sells backlight instantly, prioritize it.
For finer control over the fill and the direction of the rim, the NSFW AI lighting prompts bank has phrasing for reflector fill and directional edges. If you want to shoot slightly up into the light for a more heroic angle, NSFW AI camera angle prompts covers low-angle framing that pairs well with a bright sky behind the subject.
Negative prompt
The negative here is unusual: you are protecting the front of the subject from going black while keeping the background bright. You remove flatness and muddiness, not brightness.
silhouette only, pure black subject, featureless shadow,
underexposed face, muddy shadows, flat lighting, front lit,
even lighting, dull, hazy face, blurry, low contrast on subject,
dark unreadable face, lost detail, deformed hands, extra fingers,
bad anatomy, watermark, text, oversaturated
The key entries are silhouette only, pure black subject, underexposed face, and dark unreadable face. These directly counter the number one backlit failure. Note that you do NOT negate lens flare or haze here, those are wanted. For a broader reference on building negatives, the NSFW AI negative prompts master list shows how to weight competing tags.
Settings: sampler, CFG, steps, resolution
Backlight benefits from moderate CFG. Too high and the front crushes to black, too low and the rim goes weak.
| Setting | Value | Why |
|---|---|---|
| Sampler | DPM++ 2M Karras | Smooth gradients from bright rim to shadowed front. |
| CFG scale | 5 to 6.5 | Moderate CFG keeps the front readable while holding the rim. |
| Steps | 28 to 34 | Flare, haze, and edge light need steps to resolve without artifacts. |
| Resolution | 896×1152 portrait | Vertical suits a haloed standing or seated figure. |
| Hires fix | 1.5x, denoise 0.3 to 0.35 | Recovers rim and hair detail without blowing the halo out. |
| Clip skip | 2 for Pony bases | Standard, sharper edge definition. |
If the front is going too dark, lower CFG a notch before touching the prompt, high CFG is the usual culprit for crushed shadows in backlit scenes. The NSFW AI CFG and sampler settings guide has more on balancing contrast-heavy frames.
Step-by-step workflow
- Load a wide-dynamic-range checkpoint. Set a portrait resolution around 896×1152.
- Paste the positive block. Replace the subject line with your adult character. Keep the fill tags in, they are not optional.
- Paste the negative block. Confirm silhouette only and underexposed face are negated.
- Set CFG to 6, DPM++ 2M Karras, 30 steps.
- Generate a batch of 8. Backlight is high variance, you are hunting for the frame where the rim glows AND the face reads.
- Pick the best balance. If several frames have a great rim but a dark face, that is your fill-balance signal, nudge the fill tags up next batch.
- Run ADetailer for NSFW on the face at denoise 0.3 to 0.35. This is the single most valuable step for backlight, it lifts and details the shadowed face without re-lighting the scene.
- If the face is still too dark in one spot, NSFW inpainting lets you lift just that region while leaving the glorious rim untouched.
Where backlit shots break, and the fix
The dominant failure is a fully dark, muddy face against the light. The rest are variations on the rim-versus-fill balance.
| Problem | Cause | Fix |
|---|---|---|
| Face is a black silhouette | No fill, CFG too high | Add subtle soft fill light on face, face still visible; lower CFG to 5.5 |
| No rim light at all | Backlight tags too weak | Strengthen strong rim light, bright edge on shoulders, sun behind subject |
| Rim is a blown white blob | Highlights clipped | Use a wider-range model, lower hires denoise, add glowing not blown-out |
| Flat portrait, background just bright | Model ignored direction | Push contre-jour, shot into the light, backlit hair; negate front lit |
| Face lifted so much backlight is gone | Fill too strong | Reduce fill wording to subtle, faint fill; raise rim tags |
| Muddy gray front instead of clean shadow | Low contrast | Raise CFG slightly, add cinematic, high contrast, negate muddy shadows |
| Hair does not glow | Halo tag missing | Add glowing hair, hair haloed by light, light through hair early in prompt |
If the whole frame reads soft and lifeless, the how to get better NSFW AI results guide covers the settings-level moves that restore punch. Backlight without contrast is just a dim photo, so treat flatness as the bug to kill.
Three backlight variations worth knowing
Backlight is not a single recipe, it is a spectrum defined by how strong the light is and how much fill you allow. Knowing which point on that spectrum you want keeps you from batching aimlessly.
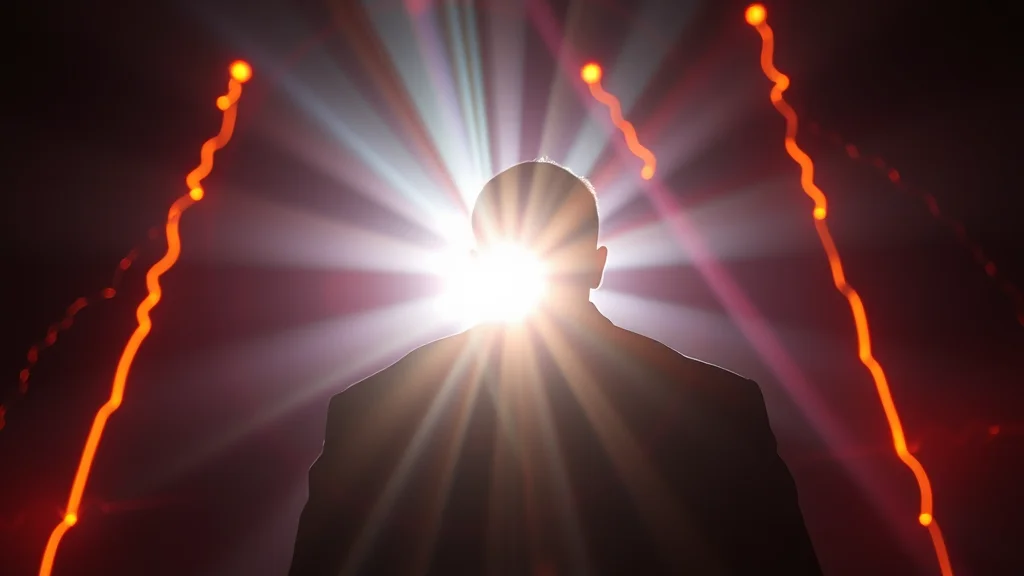
The first is the true silhouette, where you allow almost no fill and the subject becomes a clean dark shape against a bright field. This is graphic and bold, and it is the one look where a dark, featureless front is correct rather than a failure. If that is your goal, drop the fill tags and lean into strong silhouette, dark shape against bright light, minimal detail. The second is the classic haloed portrait, the balanced look this guide focuses on, where a strong rim glows around a face and body that are still readable thanks to a soft fill. This is the most versatile and the hardest to balance. The third is the flare-drenched dreamy look, where you push haze, bloom, and lens flare until the whole frame glows and detail softens on purpose. Add heavy bloom, sun flare, dreamy haze, soft glowing atmosphere and accept that the image trades sharpness for mood.
| Variation | Fill level | Signature tags |
|---|---|---|
| Silhouette | None | strong silhouette, dark shape, minimal detail |
| Haloed portrait | Soft | rim light, soft fill on face, face visible |
| Dreamy flare | Soft plus haze | heavy bloom, sun flare, dreamy haze |
The trap is drifting between these without deciding. If you prompt a silhouette but also beg for a readable face, the model splits the difference and you get a muddy half-lit shape that reads as neither bold nor detailed. Pick the variation, commit the fill level, and batch toward that specific target. Each of the three is a legitimate, striking image on its own, and the only wrong move is failing to choose one.
When to level up
Once you can balance rim and fill reliably, chase two upgrades. The first is color. Backlight through a warm source glows amber, through a window on an overcast day it goes cool and silvery. The NSFW AI color grading prompts guide lets you set the temperature of the halo independently from the fill, which is how you get that two-tone look where the rim is warm and the shadows are cool.
The second is atmosphere. Backlight loves particles: dust, steam, mist, all of which catch the light and turn a rim into visible god-rays. Pair the technique with NSFW AI mood and atmosphere prompts to add haze and volumetric light, then build a matching set with the consistent NSFW AI photo set method so your character keeps the same glow across a series. Master the rim-and-fill balance first though. Every other backlit refinement sits on top of that one hard-won skill.
Frequently asked questions
Why does my backlit AI photo have a completely black face?
There is no fill light, and your CFG is probably too high. Backlight puts the key behind the subject, so the front needs a rescue tag: add subtle soft fill light on face and face still visible to the positive, negate silhouette only and underexposed face, and lower CFG to about 5.5. The whole craft is balancing a strong rim against a soft fill.
What is the difference between backlit and golden hour?
Backlight is about the direction of the light, behind the subject, and it works at any time of day, indoors or with a studio strobe. Golden hour is about the color and softness of low evening sun. They overlap and combine beautifully, but keep them as separate levers so you can control direction and color independently.
How do I get the glowing hair halo?
Prioritize glowing hair, hair haloed by light, and light through hair early in the prompt, and make sure the light is clearly behind the subject with strong rim light. A wide-dynamic-range model like RealVisXL or FLUX renders the strand-by-strand glow far better than checkpoints that clip highlights into a white blob.
My rim light is a blown-out white blob, how do I fix it?
The model is clipping the highlights. Switch to a wider-range checkpoint like RealVisXL or FLUX, lower your hires-fix denoise so it does not push the halo brighter, and add glowing, not blown-out to the positive. You want a gradient in the rim, not a flat white edge.
What CFG should I use for backlit shots?
5 to 6.5. Moderate CFG keeps the front of the subject readable while still holding the rim light. Too high and the shadowed face crushes to black, too low and the rim goes weak. If the face is going dark, lower CFG a notch before you touch the prompt.
Do I need to keep lens flare in the prompt?
Only if you want the dreamy glow. Lens flare and atmospheric haze add the romantic quality but soften the rim. Drop them for a cleaner, sharper edge light. Importantly, do not put lens flare in your negative prompt for this look, it is a wanted feature here, not an artifact.
Why is my backlit shot just a flat portrait with a bright background?
The model read your scene as front-lit with a bright backdrop instead of true backlight. Push contre-jour, shot into the light, and backlit hair, negate front lit and even lighting, and make the rim tags strong. The light must clearly come from behind, not just appear behind.
What is the most useful post step for backlit photos?
ADetailer on the face at a denoise of 0.3 to 0.35. It lifts and adds detail to the shadowed face without re-lighting the whole scene, which is exactly the backlit problem. For a stubborn dark patch, inpaint just that region so you can brighten the face while leaving the glowing rim completely untouched.
Related scene how-tos: