To make believable office NSFW AI scenes, build a workspace with a solid wooden desk, a leather chair, a window with a blurred city view, a bookshelf, and a monitor. Light it with bright overhead plus window depth, place your adult subject on or against the desk, then fix warped desks, garbled objects, and impossible window geometry.
Why the office is a geometry trap
The office is a classic NSFW setting because it carries an immediate story: the professional space turned private. It is also, from a rendering standpoint, one of the most geometry-heavy environments you can pick. A modern office is nothing but straight lines and hard-edged manufactured objects: the rectangular desk, the paneled window, the shelving grid, the monitor, the chair frame. Every one of those is a place where diffusion models bend, warp, or garble what should be crisp and square.
Desks are the worst offenders. A wooden desk should have four straight legs and a flat rectangular top, but models routinely give it a curved edge, a melting corner, or a phantom fifth leg. Monitors turn into smeared rectangles displaying nonsense. Bookshelves become walls of illegible spines that warp toward the edges. The window, which should be your best depth cue, often ends up with a bent frame and an impossible city skyline outside. The whole room is a test of whether the model can hold straight lines under pressure, and by default it cannot.
The way through is precision and restraint. Describe the few key objects clearly, keep the object count low so the model is not juggling a dozen hard surfaces at once, and lean on depth of field to soften the background where the geometry is weakest. For the broader environment vocabulary, our setting prompts reference is the companion piece, and the DSLR realism guide helps push the whole frame toward a photographic look.
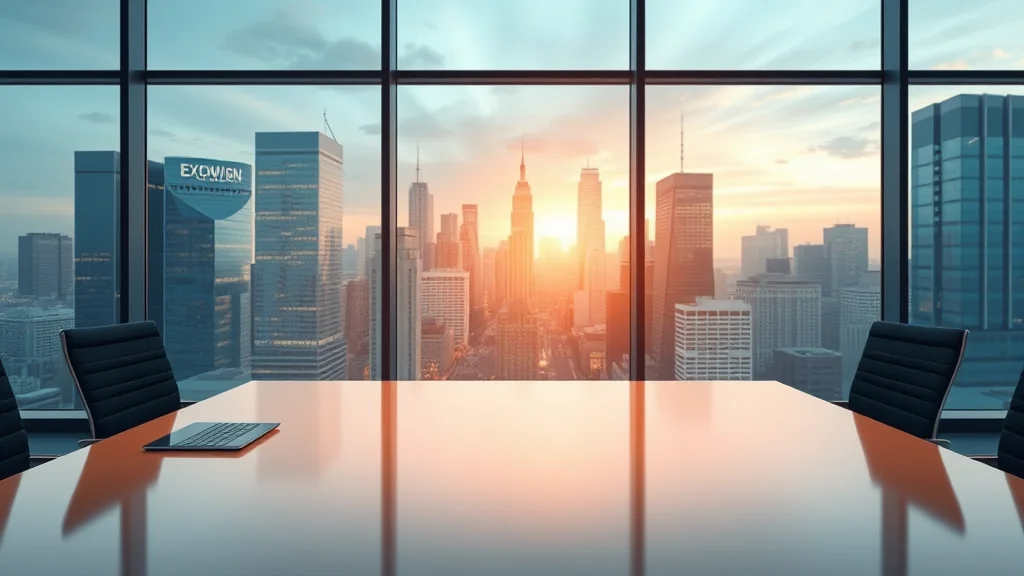
The office prop tags
An office is a small set of hard-edged props on a floor plane. Describe each specifically, because vague terms produce warped geometry. The table below groups them by role.
| Prop role | Prompt tags that work | Why it helps |
|---|---|---|
| The desk | solid wooden executive desk, clean desk surface, straight desk edge, dark wood grain | The centerpiece and the surface the subject interacts with |
| Seating | black leather office chair, ergonomic chair, chair with clean frame | Adds a mid-plane and grounds a seated pose |
| Window and depth | large window, city skyline view softly blurred, sheer blinds, daylight from window | The strongest depth cue and a natural light source |
| Shelving and decor | wooden bookshelf, rows of books softly blurred, potted plant, framed certificate | Fills the background wall without demanding sharp detail |
| Desk objects | closed laptop, desk lamp, coffee mug, notebook, single monitor | A few believable props; keep them minimal and soft |
Front-load the subject and the desk, then the chair and window, then the shelf and small objects. That order tells the model the subject and desk edge must be crisp while the shelf and city view can soften. Keep the descriptors concrete: “solid wooden executive desk, straight desk edge” holds its shape far better than “office desk.”
Restraint is critical here more than in any other setting. Every additional hard object is another chance for the model to warp something. A desk, a chair, a window, and a softly blurred shelf are plenty. Resist the urge to add a printer, a filing cabinet, three monitors, and a wall of framed diplomas, because that clutter is where the garbled-object failures multiply.
How to light an office
Office lighting has a signature combination: bright, even overhead light plus directional depth from a window. Prompt “bright office lighting, soft overhead light, large window with daylight, natural light from left, gentle shadows.” The overhead keeps the room readable and professional; the window adds a directional gradient that gives the scene depth and stops it from looking flat.
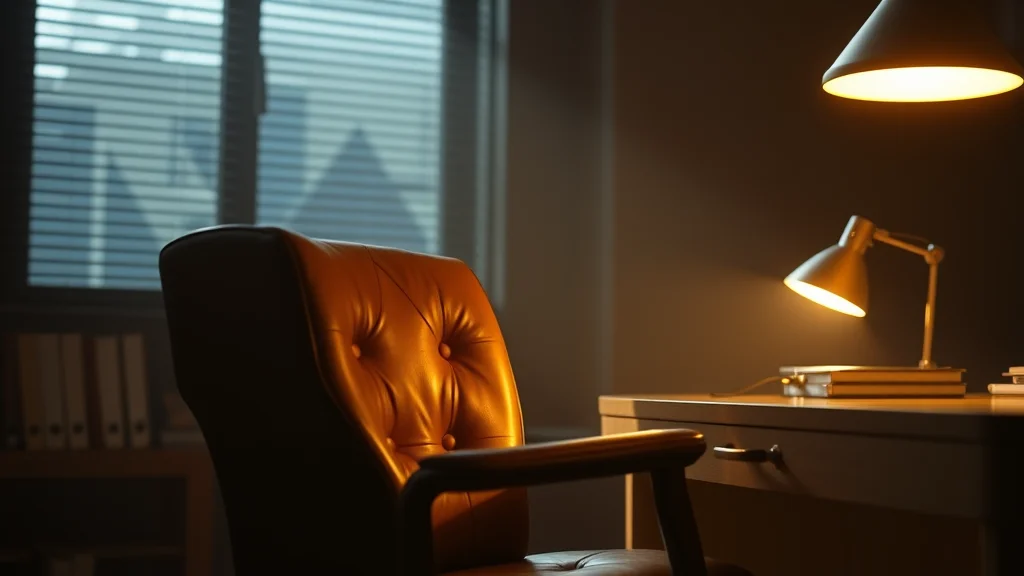
The window is your most valuable lighting tool in an office. A subject positioned so window light rakes across them gains dimension and a natural highlight, and the blurred city beyond reads as depth. Prompt “window light from side, soft daylight on skin, city view softly blurred behind.” For a moodier after-hours look, you can drop the overhead and go with a single desk lamp and city lights through the window: prompt “dim office at night, warm desk lamp, city lights through window, low warm lighting.” The low key photo guide suits that darker version, and the general lighting prompts list gives you the full vocabulary.
Avoid harsh, flat fluorescent-only light with no window. It flattens the subject and makes the office look like a cubicle photo rather than an intimate scene. Always give yourself one directional source, usually the window, and name its direction so the shadows across the desk and the subject agree.
Staging, subject placement, and depth
Depth in an office comes from the recession of the desk toward the window and the layering of desk, chair, and shelf. Use the desk as your primary structure: the adult subject seated on the edge of the desk, leaning back against it, or reclining across it gives a clear interaction with the room. Prompt for contact: “sitting on the edge of the wooden desk, weight resting on desk, hand on desk surface, relaxed confident pose.” That contact is what integrates the figure with the furniture instead of pasting them on top of it, and it also gives the model a reason to keep the desk edge solid where the body meets it.
Position the window behind or to the side of the subject for depth. A blurred city skyline through the window pulls the eye past the subject and establishes a real space beyond the desk. Shallow depth of field is your friend for exactly the reason it always is in geometry-heavy rooms: “subject in sharp focus, background office softly blurred, bokeh on city lights” keeps the subject and desk edge crisp while softening the shelf, monitor, and window frame where the model is weakest.
For flattering framing of a seated or leaning pose, the camera angle prompts guide helps, and for tasteful interaction language the scene action prompts list is the right reference. To build a matched series in the same office, follow the consistent photo set method, and the prompt formula guide ties the whole structure into a repeatable template.
A full copy-paste example prompt
Here is a complete office prompt for an SDXL or Pony based checkpoint. Swap the bracketed subject for your own original adult character.
Positive:
(masterpiece, best quality, photorealistic, 8k, raw photo),
beautiful adult woman [your character description, age 20s],
sitting on the edge of a solid wooden executive desk,
weight resting on desk, hand on desk surface, confident relaxed pose,
dark wood grain desk, straight clean desk edge,
black leather office chair, single monitor, closed laptop, coffee mug,
large window with city skyline view softly blurred, sheer blinds,
wooden bookshelf with rows of books softly blurred, potted plant,
bright office lighting, soft overhead light, natural daylight from window on left,
gentle shadows, consistent shadow direction,
shallow depth of field, subject in sharp focus, office softly blurred,
detailed skin texture, natural skin, subsurface scattering,
shot on 50mm lens, clean color grade

Negative:
(worst quality, low quality, jpeg artifacts), warped desk,
melting desk corner, extra desk leg, curved desk edge,
garbled objects, cluttered background, illegible book spines,
smeared monitor, distorted window frame, impossible skyline,
floating body, extra limbs, deformed hands, mutated fingers,
plastic skin, oversaturated, cartoon, watermark, text
To shift from a crisp daytime corporate feel to a warm after-hours mood, the color grading prompts and mood and atmosphere prompts let you change the tone without touching the composition, and the skin texture tags keep the subject from going plastic under bright office light.
Sampler, CFG, and checkpoint notes
All that straight-line geometry needs a sampler that holds edges, so do not run low steps. Use DPM++ 2M Karras or DPM++ 3M SDE Karras at 30 to 36 steps. The desk edge, window frame, and shelf grid all wobble at low step counts, and those are precisely the lines that give an office its structure.
Keep CFG around 4.5 to 6.5. Too high and the office lighting clips to harsh white and the wood grain oversaturates; too low and the desk and shelf lose definition. A strong realism checkpoint keeps architecture and skin honest. RealVisXL and CyberRealistic Pony both handle clean interiors and pose control well, and the full checkpoint roundup and CFG and sampler reference compare the options.
Generate at a portrait or landscape aspect depending on the pose (832×1216 for a standing or seated subject, 1216×832 to include more of the desk and window), then upscale. The upscale pass is where the wood grain, the window view, and the leather texture gain their final crispness. Follow the upscaling guide at about 0.3 denoise so the upscaler sharpens without redrawing your furniture. If the base pass looks soft or the geometry is shaky, the get better results checklist and a controlnet pass for the desk structure can lock things down before you reroll.
Where it breaks and how to fix it
Office scenes fail in four signature ways, all fixable.
Warped desks are the number one problem. The desk edge curves, a corner melts, or a phantom leg appears. Fix by masking the desk and inpainting at low denoise with “solid rectangular wooden desk, straight edges, four legs.” A ControlNet depth or lineart pass on the desk structure prevents most of it in the first place. The inpainting guide covers the masking workflow.
Garbled desk objects come next. The monitor smears, the laptop warps, the mug fuses with a notebook. The fix is fewer objects and more background blur; mask any object that reads as nonsense and either regenerate it clean or remove it. A smeared monitor is better replaced with a closed laptop, which the model renders more reliably.
Illegible or warped bookshelf is the third tell. The spines bend toward the edges into a wall of mush. Push the shelf further out of focus with shallow depth of field, or mask and regenerate it softer. A blurred shelf reads as a real bookshelf; a sharp warped one reads as fake.
Impossible window geometry rounds out the list: the frame bends and the city skyline outside makes no sense. Fix by masking the window and regenerating with “straight window frame, blurred city skyline, soft daylight,” keeping the view soft so its details never come under scrutiny. For overall softness use the blurry image fix, for weak texture run the add detail pass, and for hand or foot slips, mask and regenerate just that region.
Building a matched office series
A single office frame tells a story, but a matched set in the same workspace reads like a real sequence rather than one lucky render. Because an office is nothing but fixed geometry, consistency is both more important and more fragile here than anywhere else. If the desk, the window, or the shelf shifts between frames, the eye catches it immediately, because manufactured furniture is supposed to stay exactly where it is.
Lock the environment description word for word and reuse it across every generation, changing only the pose and camera. If your hero frame says solid dark wood desk, leather chair on the left, window with blurred skyline behind, bookshelf on the right, then every frame must repeat that exactly. Use image to image from your strongest frame to hold the room while you change the pose; the img2img workflow feeds the model your established office and only nudges the subject, keeping the desk and window stable. Pair it with the character consistency techniques so the subject holds across frames.
This is a setting where ControlNet earns its keep across the whole set. Capture a depth or lineart map of the desk and window from your hero frame and reuse it for every generation, so the desk edge and window frame stay straight and identical rather than warping anew each time. The controlnet guide covers capturing and reusing a structure map, and it is the single most reliable fix for the office geometry problem across a series. Alternate a wider frame that shows the whole desk and window with tighter frames that push the subject forward and blur the room behind, which both flatters the subject and hides the shelf and monitor where the model is weakest. Finish with a unified color grade and clean any warped object in the photo editing workflow before the set ships.
Day versus after-hours mood
The office supports two very different moods, and choosing deliberately between them makes the scene stronger. The daytime corporate look is bright and clean: crisp overhead light, a clear window with a blurred daytime skyline, and a professional, in-control feeling. Prompt bright daytime office, clean overhead light, daylight skyline through window for that read. The after-hours look is warmer and more private: the overhead lights are off, a single desk lamp pools warm light across the wood, and the city glitters through the window against a dark sky. Prompt dim office at night, single warm desk lamp, glowing city lights through window, dark sky for that version.
The after-hours mood is often the more compelling choice for an intimate scene, because the darkness and the single warm source create natural focus and a sense of privacy that the flat daytime look cannot match. It also hides a lot of the geometry problems: with the room falling into shadow, the shelf and the far corners recede, and the model has fewer hard surfaces under bright scrutiny. The low key photo guide covers getting that pooled-light look right, and the color grading prompts let you warm the whole frame to match the lamp. Whichever mood you pick, commit to it fully rather than half-lighting the room, because a scene caught between bright daytime and warm night reads as neither and loses its atmosphere.
Conclusion
A convincing office NSFW scene is fundamentally a geometry problem, and the solution is precision plus restraint. Describe a solid wooden desk, a leather chair, and a window with a blurred city view clearly, keep the object count low so the model is not warping a dozen hard surfaces at once, and light the room with bright overhead plus directional window depth. Place your adult subject in genuine contact with the desk so the furniture stays solid where the body meets it, push the background soft with shallow depth of field, and then fix the four usual failures: warped desks, garbled objects, illegible shelves, and impossible windows. Lock the desk structure with ControlNet if it keeps drifting, pair a realism checkpoint with a proper upscale, and your office reads as a real photographed workspace rather than a warped stack of straight lines.
Frequently asked questions
Why does my office desk keep warping or growing extra legs?
The rectangular desk is pure straight-line geometry, which diffusion models bend by default. Use enough steps (30 to 36), prompt solid rectangular wooden desk, straight edges, four legs, and lock the structure with a ControlNet depth or lineart pass. Inpaint any corner that still melts.
How do I stop desk objects from turning into garbled nonsense?
Keep the object count low and push the background soft. A monitor often smears, so a closed laptop renders more reliably. Mask any object that reads as nonsense and regenerate it clean or remove it. Clutter multiplies the garbled-object failures, so less is more.
What lighting works best for an office scene?
Bright even overhead light plus directional depth from a window. The overhead keeps the room readable; the window rakes across the subject for dimension and gives a blurred city view for depth. For an after-hours mood, drop the overhead and use a desk lamp with city lights through the window.
How do I make the bookshelf look real instead of a wall of mush?
Push it out of focus. A blurred bookshelf reads as a real bookshelf, while a sharp one warps its spines toward the edges into illegible mush. Use shallow depth of field so the shelf softens, or mask and regenerate it softer if it stays sharp and warped.
How do I integrate the subject with the desk believably?
Prompt genuine contact: sitting on the edge of the desk, weight resting on desk, hand on desk surface. That contact stops the floating-subject look and gives the model a reason to keep the desk edge solid where the body meets it. Add a soft contact shadow if needed.
Why does the window and city view look impossible?
The frame bends and the skyline makes no sense because the model treats it as sharp geometry. Mask the window and regenerate with straight window frame, blurred city skyline, soft daylight, keeping the view soft so its details never come under scrutiny.
Which checkpoint and settings suit office scenes?
RealVisXL and CyberRealistic Pony handle clean interiors and pose control well. Use DPM++ 2M Karras or 3M SDE Karras at 30 to 36 steps, CFG 4.5 to 6.5, a portrait or landscape aspect, and a proper upscale at about 0.3 denoise. ControlNet helps lock the desk.
How many props should an office scene include?
Very few: a desk, a chair, a window, and a softly blurred shelf are plenty. Every additional hard object (printer, filing cabinet, extra monitors, wall of diplomas) is another chance for the model to warp something. Restraint is the single biggest quality lever in an office.