For NSFW 3D artists, AI is a support tool, not a replacement: it generates concept references, mood boards, texture and material references, matte-painting backdrops, and img2img explorations over your viewport renders, all of which you then bring back into Blender, DAZ, or Unreal to build the real thing. It works only with original fictional adult characters or your own consented likeness, never a real person.
The artists who get the most from AI treat it as a fast idea engine that feeds a traditional 3D pipeline, not as a shortcut that skips the modeling. A diffusion model cannot give you a rigged, posable, relightable mesh, but it can hand you a hundred concept directions, a convincing mood board, and a reference for a material you were struggling to art-direct, in the time it takes to make a cup of coffee. This guide covers where AI slots into a 3D workflow, the ControlNet and img2img settings that make it useful, the texture caveats nobody mentions, and the round-trip loop between AI and your 3D scene.
AI as a support tool, not a replacement
The honest framing matters, because expecting the wrong thing wastes your time. AI images are flat, non-parametric, and inconsistent in 3D space. They do not respect topology, they cannot be relit, and they will not hold up to a camera orbit. So they are useless as final geometry.
What they are superb at is the fuzzy, exploratory front of a project and the reference-gathering middle. Before you sculpt, AI shows you looks. While you texture, it gives you material references. When you need a backdrop, it paints one faster than you could. The 3D craft, the part that produces something posable and renderable, stays entirely in your hands. Keep that division clear and AI becomes one of the most useful additions to a 3D artist’s toolkit rather than a source of disappointment.
Generating concept references and mood boards
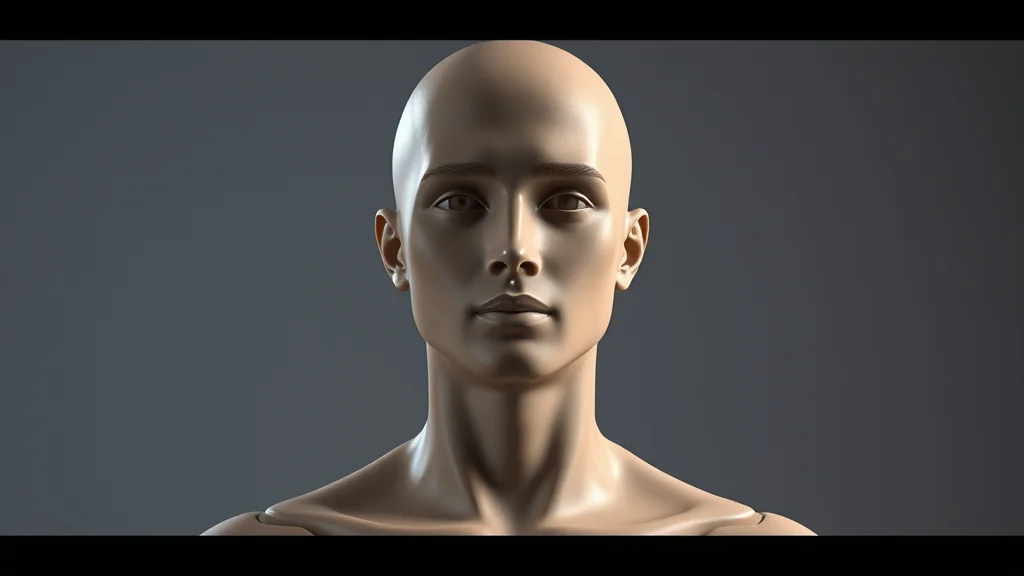
The first and easiest win is concept exploration. Instead of hunting reference sites or sketching for hours, you generate dozens of directions for a character, environment, or prop.
Prompt for the vibe you are chasing: an original adult character with a specific body type, wardrobe, setting, and lighting mood. Generate a grid, pull the strongest frames into a mood board, and use that board to art-direct your sculpt. Because these are references, not final assets, small AI imperfections do not matter; you are extracting shape language, palette, and mood, not tracing.
For character work specifically, lock a consistent look early so your references agree with each other. The methods in our guide to character consistency techniques let you generate the same original character from several angles, which is far more useful as modeling reference than a set of unrelated images. A consistent reference set means your front, side, and three-quarter views actually describe one character.
Texture and material references
A subtler use is generating references for surfaces: skin, fabric, leather, metal, and other materials you need to reproduce with PBR shaders. AI is good at showing you what a material should look like under given lighting, which helps you dial in your own maps.
Here is the crucial caveat: AI images are not usable PBR textures. They are not tileable, they have baked-in lighting and shadow, and they lack the separate roughness, normal, and metallic channels a real material needs. Painting a raw AI image straight onto a mesh as a diffuse map gives you baked highlights that fight your scene lighting and visible seams where it fails to tile. Treat the AI output as a look reference that guides how you author or adjust a proper PBR material, not as the texture itself. For tileable maps, use dedicated material tools and reference the AI image for color and character only.
| Task | AI method | Key setting or caveat |
|---|---|---|
| Concept references | Text-to-image grids | Original characters, extract shape and mood |
| Mood board | Curated generations | Palette and lighting reference only |
| Material look reference | Text-to-image, close-up | Not tileable, not a real PBR map |
| Matte-painting backdrop | Wide-format generation, upscale | Use as a projected or card backdrop |
| Look exploration on a render | img2img over viewport | Low to mid denoise, keep composition |
| Pose-accurate concept | ControlNet openpose or depth | Export pose or depth from your 3D scene |
Turning references into a usable modeling sheet
Raw concept generations are inspiring but scattered. To actually sculpt from them, consolidate the best frames into an orthographic-style reference: a clear front and side view of your character at neutral pose, plus detail callouts. Because diffusion models rarely produce clean orthographic views on demand, you often generate a three-quarter hero image you love, then use consistency tools to derive matching front and side references. Line those up in your modeling software as background images and sculpt against them. This bridges the gap between a pretty AI concept and something you can measure and build, which is where many artists stall when they try to jump straight from an inspiring image to a mesh with no intermediate reference step.
Matte-painting backdrops
Environments eat time, and often your scene only needs a convincing background rather than a fully modeled world. AI generates wide, atmospheric backdrops fast: a neon alley, a candlelit chamber, a sunset skyline. Generate at a wide aspect ratio, upscale for resolution, then bring it into your scene as a projected backdrop, a distant card, or a matte painting behind your hero geometry.
This is a classic film-industry technique adapted to AI speed. Your modeled subject sits in front, sharp and correctly lit, while the AI backdrop fills the distance where the camera will never scrutinize it closely. For adult scenes especially, a strong environment sells mood without the cost of building it in full 3D. Match the backdrop’s lighting direction and color temperature to your scene so the composite reads as one space.
ControlNet: driving AI from your 3D scene
This is where the workflow gets genuinely powerful, because it lets your 3D scene control the AI rather than the other way around. ControlNet takes a structural input from your viewport and forces the generation to obey it.
Two control types matter most for 3D artists:
- Openpose. Pose a figure in Blender or DAZ, export or screenshot the pose, and feed it through ControlNet openpose. The AI then renders a character in exactly that pose. This means you art-direct the pose with real 3D control, then let AI render the look on top. Our ControlNet complete guide covers setup and weights in detail.
- Depth. Render a depth pass from your viewport and feed it as a ControlNet depth map. The AI respects your scene’s actual 3D structure and camera, so the generated image sits correctly in your composition. This is ideal for exploring how a greybox or clay render might look fully realized.
With ControlNet you get the best of both: precise spatial control from your 3D scene and fast, varied rendering from the AI. Keep control weight high enough that the structure holds, but not so high that the render turns rigid; somewhere around 0.6 to 0.9 is a common working range depending on the model.
Img2img over a viewport clay or greybox render
The most direct AI-to-3D technique is img2img on your own render. You block out a scene in Blender, DAZ, or Unreal as a clay or greybox, then run that render through img2img to explore finished looks: materials, lighting, mood, and detail the model adds on top of your composition.
Denoise strength is the whole game here:
- 0.2 to 0.35: subtle. Keeps your composition and forms almost exactly, adds surface polish and lighting. Best for staying faithful to your 3D layout.
- 0.4 to 0.6: balanced. Respects your overall composition but reinterprets materials and details substantially. The most common exploratory range.
- 0.7 and up: loose. The AI takes major liberties and may diverge from your scene. Useful for wild look exploration, risky for fidelity.
Start low and climb until you get the interpretation you want. Pairing img2img with a ControlNet depth pass from the same scene keeps the structure locked even at higher denoise. Our img2img guide covers strength tuning and prompt interplay in depth. The point is that your greybox provides the composition and the AI provides the finish exploration, giving you dozens of look options before you commit to texturing in 3D.
The AI-to-3D-to-AI loop
The most productive artists run a loop rather than a one-way pipeline. It goes like this:
- Generate AI concepts to explore a character or scene direction.
- Model, sculpt, and pose the real asset in Blender or DAZ using those references.
- Render a clay or greybox from your scene.
- Run img2img or ControlNet over that render to explore finished looks and lighting.
- Take what you learned back into 3D: adjust materials, lighting, and composition to match the look you liked.
- Render your final in 3D, where everything is posable, relightable, and consistent.
Each pass through the loop sharpens the result. The AI supplies speed and inspiration; the 3D supplies control, consistency, and a final image that holds up to scrutiny. You can also use inpainting late in the process, running a nearly-final 3D render through targeted inpainting to fix or embellish a specific region, then compositing that improvement back over your render. That final touch-up pass often closes the gap between a good 3D render and a great one.
Fixing the details that break realism
3D renders and AI passes both stumble on the same details: hands, faces, and where surfaces meet. When an img2img or ControlNet pass mangles a hand or drifts a face off your intended design, inpaint just that region rather than rerunning the whole image. Mask the problem area, regenerate at higher resolution for cleaner small features, and blend it back. This targeted repair is what turns a promising but flawed pass into something you can actually use as reference or as a composited element. Budget a cleanup pass into every serious render; the difference between rough and polished is usually a handful of small, deliberate fixes.
Lighting exploration without re-rendering
One of the quietest time-savers is using AI to test lighting moods before you commit to a full 3D render, which can take minutes or hours per frame. Render a fast, flatly-lit clay pass of your posed scene, then run img2img at low to moderate denoise with prompts describing different lighting setups: warm candlelight from the left, cool moonlight through a window, dramatic rim lighting, soft overcast. In a couple of minutes you have a spread of lighting directions to choose from, and you can then set up only the winning direction properly in your 3D lights. This turns lighting from an expensive trial-and-error process into a quick visual audition, and it pairs naturally with a ControlNet depth pass so the AI respects your actual geometry while it repaints the mood.
Choosing settings by 3D task
Different 3D jobs call for different AI approaches, and knowing which lever to pull saves a lot of flailing. Concept work wants pure text-to-image with loose prompts and high variety. Modeling reference wants consistency tools so your views agree. Look development over a greybox wants img2img at low to mid denoise, ideally with a depth ControlNet locking structure. Pose-accurate concepting wants openpose ControlNet driven from your rigged figure. Backdrops want wide-format generation and heavy upscaling. Match the task to the method rather than reaching for the same setting every time, and the tool stops fighting you. A useful habit is to keep a small notes file of the denoise values, control weights, and prompts that worked for each task on your rig, so you are not rediscovering good settings on every project.
Where the boundary sits
Because 3D artists often work from real reference, the consent line deserves restating plainly. Every character you build, in 3D or in AI, must be an original fictional adult or your own consented likeness. Do not scan, model, or generate a real person’s likeness into adult content without their explicit consent. No minors, no age-ambiguous designs, ever. Working with original characters is also creatively freeing, because a character you invent is entirely yours to pose, texture, and render however the project needs, with no likeness risk hanging over the work.
Bringing it together
AI does not replace the 3D artist; it removes the slow, uninspired parts of the job. It kills the blank-page problem with instant concepts, fills mood boards, references materials you can then author properly, paints backdrops, auditions lighting moods in seconds, and lets you explore finished looks over a greybox before you commit hours to texturing. ControlNet and img2img connect it directly to your viewport so your 3D scene stays in charge of structure and pose. The mesh, the rig, the shaders, and the final render remain your craft, and that craft is exactly what gives your work the consistency and control that pure AI output can never match. Run the AI-to-3D-to-AI loop, keep your characters original and adult, and you get the speed of generative tools without giving up the control that makes 3D worth doing in the first place.
If you are integrating AI into an existing pipeline for the first time, start with the lowest-risk touchpoint: concept and mood boards. It changes nothing downstream and immediately shows you the value. Once that feels natural, add img2img look exploration over your greyboxes, then bring in ControlNet to drive generations from your posed scenes. Adopting it in that order lets you keep every part of your proven 3D workflow while layering the AI benefits on top, rather than trying to rebuild your process all at once. The artists who succeed with these tools are the ones who let AI accelerate the thinking and referencing while keeping the modeling, rigging, and final rendering firmly in the disciplined 3D craft they already know.
Frequently asked questions
Can AI replace 3D modeling for NSFW art?
No. AI images are flat, non-parametric, and cannot be relit or orbited, so they are useless as final geometry. AI works as a support tool for concepts, references, backdrops, and look exploration, while the actual posable, renderable 3D asset stays your craft in Blender, DAZ, or Unreal.
Can I use AI images as textures on my 3D model?
Not directly. AI images are not tileable, have baked-in lighting and shadow, and lack the separate roughness, normal, and metallic channels a PBR material needs. Use the AI output as a look reference to guide how you author or adjust a proper material, not as the texture map itself.
How do I control AI from my 3D scene?
Use ControlNet. Export an openpose from a figure you posed in Blender or DAZ to force the AI into that exact pose, or render a depth pass so the AI respects your scene’s structure and camera. Control weight around 0.6 to 0.9 keeps the structure without making the render rigid.
What img2img denoise strength should I use over a viewport render?
Use 0.2 to 0.35 to stay faithful to your composition while adding polish, 0.4 to 0.6 for balanced material and detail reinterpretation, and 0.7 or higher for loose exploration that may diverge from your scene. Start low and climb until you get the interpretation you want.
What is the AI-to-3D-to-AI loop?
It is a cycle: generate AI concepts, model and pose the real asset from them, render a clay or greybox, run img2img or ControlNet over that render to explore looks, bring the learnings back into 3D, then render the final in 3D where everything is posable and consistent. Each pass sharpens the result.
Can AI generate matte-painting backdrops for my 3D scene?
Yes. Generate a wide-format atmospheric backdrop, upscale it, and bring it in as a projected backdrop, distant card, or matte painting behind your hero geometry. Match its lighting direction and color temperature to your scene so the composite reads as one space.
How do I fix broken hands or faces in an AI pass?
Inpaint just that region rather than rerunning the whole image. Mask the problem area, regenerate at higher resolution for cleaner small features, and blend it back. Budget a cleanup pass into every serious render, since the gap between rough and polished is usually a few small targeted fixes.
Can I model a real person for adult 3D art?
No. Every character must be an original fictional adult or your own consented likeness. Do not scan, model, or generate a real person’s likeness into adult content without explicit consent, and never depict minors or age-ambiguous subjects. Original characters carry no likeness risk and are fully yours to use.