To get the studio strobe look in NSFW AI photos, name the modifier and the backdrop explicitly (studio lighting, softbox, beauty dish, seamless backdrop, professional portrait, controlled light), decide soft versus hard light, keep CFG at 5 to 6.5, and guard against blown highlights. Studio flash is defined by controlled, directional strobe on a clean background, not by generic brightness.
What the studio flash look actually is
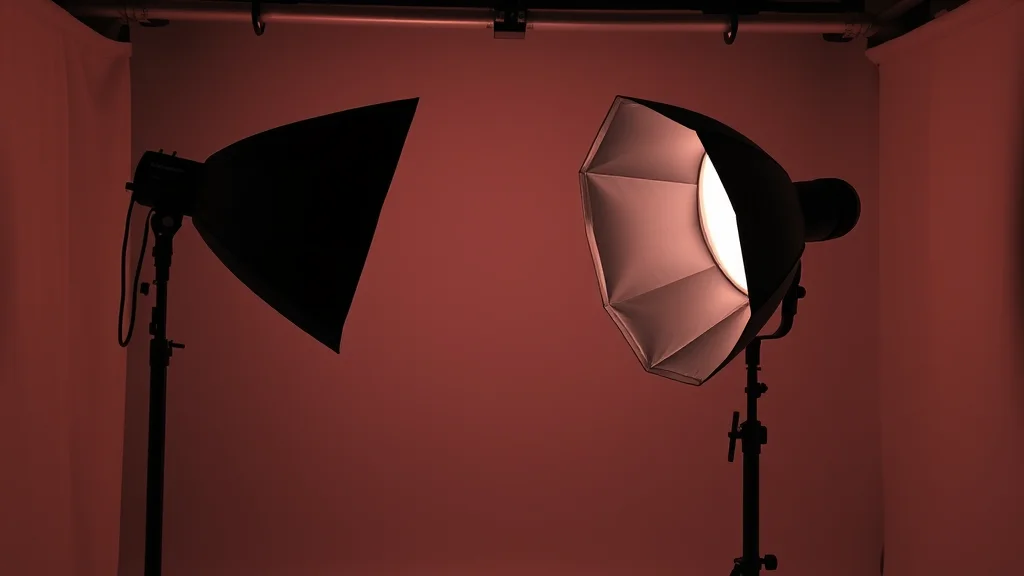
Studio flash photography is built on controlled, artificial light. A strobe fires through a modifier (a softbox, beauty dish, umbrella, or bare reflector) onto the subject in front of a clean, seamless backdrop. The signatures are specific: a defined key light with a clear direction, a controlled highlight-to-shadow ratio, catchlights in the eyes shaped like the modifier, and a background that is evenly lit or deliberately graded from light to dark. Soft modifiers wrap the light gently; hard modifiers create crisp shadows and punchy contrast.
AI gets this wrong in two directions. The first is flat, dead studio light, where the model lights everything evenly with no key direction, so the subject looks pasted onto a gray background with no dimension. The second is blown-out highlights, where the model overexposes the flash and clips skin to pure white on the forehead, nose, and shoulders. Real studio flash has a clear key direction, controlled falloff, and shaped catchlights. It reads as intentional. This look leans heavily on a repeatable setup, which is why it pairs well with building a consistent photo set where the lighting has to match across frames.
Every subject is a fictional adult. The studio look is a lighting recipe applied to an original character, never a real, identifiable person.
Best checkpoints and LoRAs for studio flash
You want a checkpoint that renders controlled, directional light and clean backdrops. Pony-realism merges are strong here because they handle posed, lit portraits well.
| Model | Base | Why it suits studio flash |
|---|---|---|
| CyberRealistic Pony | Pony/SDXL | Excellent posed portrait lighting and catchlights |
| RealVisXL V5 | SDXL | Clean seamless backdrops, controlled highlight falloff |
| epiCRealism | SDXL | Natural skin under hard flash without plasticizing |
| Juggernaut XL | SDXL | Punchy contrast for hard-light beauty dish looks |
| FLUX.1 dev | FLUX | Best modifier and catchlight physics, slower |
A “studio lighting” or “flash photography” LoRA at 0.3 to 0.5 weight sharpens the key direction and catchlights when a model keeps flattening the scene. The CyberRealistic Pony guide and the RealVisXL guide cover their lighting behavior in detail.
The prompt: modifier, key direction, and backdrop tags
Studio flash needs three tag groups: the modifier, the key light direction, and the backdrop. The modifier decides soft versus hard.
professional studio portrait of an adult woman, studio lighting,
softbox key light from left, beauty dish, controlled lighting,
soft shadows, catchlight in eyes, seamless gray backdrop,
rim light separation, natural skin texture, sharp focus,
shot on DSLR, 85mm f/8, high detail, commercial photography
softbox key light from left sets a soft, directional key: swap to bare bulb, hard flash, harsh shadows for a punchy hard-light look. beauty dish gives the classic beauty-lighting falloff with a soft-but-defined shadow. catchlight in eyes forces the reflected modifier shape that makes studio portraits read as lit, not ambient. seamless gray backdrop keeps the background clean and studio-like rather than a random room. Note the aperture: studio flash usually shoots stopped down (f/8) for sharpness front to back, unlike the wide-open portrait looks. The lighting prompt guide breaks down soft versus hard modifier tags in more depth.
For soft light use softbox, octabox, umbrella, soft shadows, wrap light. For hard light use bare reflector, hard flash, crisp shadows, high contrast, defined shadow edge. Naming the modifier is what controls the shadow quality.
Negative prompt
The negative fights blown highlights and flat light.
blown highlights, overexposed, clipped highlights, white forehead,
flat lighting, ambient light, no shadows, dull, underexposed,
plastic skin, waxy, cgi, 3d render, cluttered background, messy room,
blurry, deformed hands, watermark, text, low quality
blown highlights, overexposed, clipped highlights, white forehead directly counter the most common studio failure. flat lighting, ambient light, no shadows push the model toward a directional key. cluttered background, messy room keep the backdrop seamless. The negative prompt master list covers more failure-specific blocks.
Settings: sampler, CFG, steps, resolution
| Setting | Value | Note |
|---|---|---|
| Sampler | DPM++ 2M Karras | Clean falloff and catchlights |
| CFG scale | 5 to 6.5 | Too high clips highlights to white |
| Steps | 30 to 40 | Controlled falloff needs steps |
| Base resolution | 896×1152 | Slightly wider for backdrop room |
| Aperture tag | f/8 to f/11 | Studio sharpness front to back |
| Upscale | 1.5x, denoise 0.3 | Keeps skin detail under hard light |
High CFG plus a bright flash prompt is the fastest route to blown highlights, so stay at 5 to 6.5. The settings guide explains the clipping tradeoff.
Step-by-step workflow
- Decide soft or hard light first, since the modifier tag changes everything downstream. Write the key direction explicitly (from left, from above, 45 degrees).
- Generate at 896×1152 with a seamless backdrop tag. Batch seeds and pick the frame with a clear key direction and eye catchlights, rejecting any with clipped white highlights.
- If highlights are blown, lower CFG by a point and add the blown-highlight negatives, then re-roll. Recovering clipped white in post is impossible, so fix it at generation.
- Run ADetailer on the face to hold skin detail under the strong key, keeping catchlights intact.
- Upscale 1.5x at 0.3 denoise. Optional img2img at 0.2 to deepen the backdrop gradient if you want a graded studio background.
If you want studio-style portraits without setting up a local pipeline at all, a hosted tool such as AI Nudez runs realistic models in the browser and lets you test soft and hard light looks quickly before committing to a local workflow. When you do want pixel-level cleanup, a dedicated photo editor covers tools for taming stray highlights.
Where studio flash breaks, and the fix
| Failure | Cause | Fix |
|---|---|---|
| Blown white highlights | CFG too high, flash overexposed | Lower CFG, add blown highlights to negative |
| Flat, dead light | No key direction tag | Add softbox key light from left, soft shadows |
| No catchlights, dead eyes | Missing catchlight tag | Add catchlight in eyes, ADetailer face pass |
| Cluttered background | No backdrop tag | Add seamless gray backdrop |
| Soft when you wanted punchy | Wrong modifier | Swap to bare reflector, hard flash, crisp shadows |
| Plastic skin under flash | CFG high plus no texture | Lower CFG, add natural skin texture |
Classic studio lighting patterns
Studio photographers do not just “add light,” they place it in named patterns that shape the face predictably. Naming the pattern gives the model a clear target and produces far more convincing results than a generic studio lighting tag.
| Pattern | Key position | Look |
|---|---|---|
| Butterfly (beauty) | Above and front, centered | Symmetric, glamorous, shadow under nose |
| Loop | 45 degrees, slightly above | Natural everyday portrait, small nose shadow |
| Rembrandt | 45 degrees, higher | Dramatic, triangle of light on shadow cheek |
| Split | 90 degrees to the side | Half face lit, moody and graphic |
Add the pattern by name (butterfly lighting, Rembrandt lighting, triangle of light on cheek, split lighting) alongside the modifier. Butterfly with a beauty dish is the classic glamour setup. Rembrandt with a softbox gives a dramatic but flattering portrait. Split lighting with a hard source is the most graphic and is worth reserving for moody frames. Choosing the pattern first tells you where to place the key, which is the decision the whole image hangs on.
One light versus multi-light setups
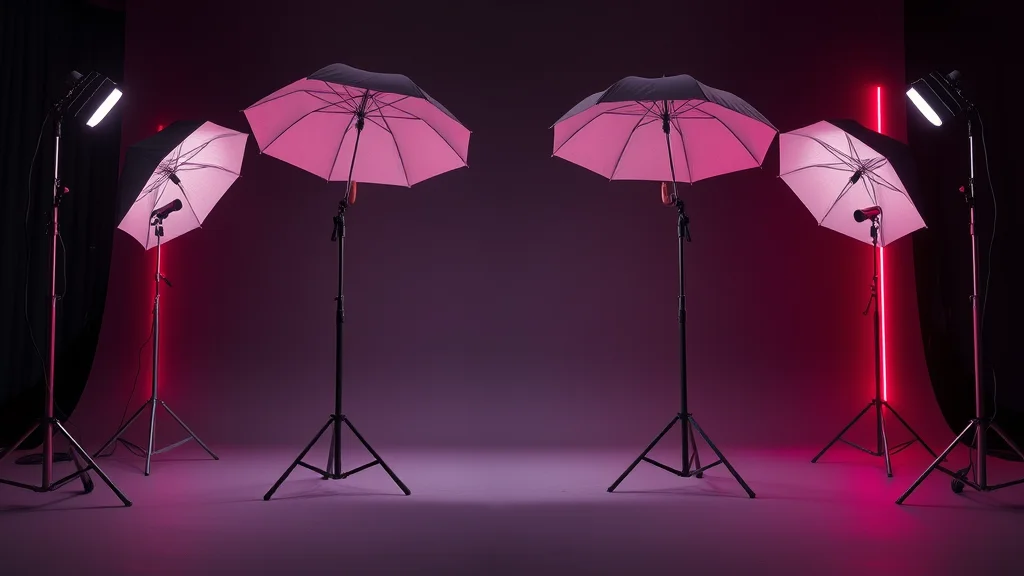
A single key light is the easiest to control and often the most flattering, but real studio work usually stacks lights, and you can describe each. A fill light opposite the key raises the shadows and lowers contrast, giving a cleaner commercial look. A rim light or hair light behind the subject separates them from the backdrop, which is essential when the subject and background are similar tones. A background light lifts the backdrop to pure white or creates a gradient.
Build these one at a time in the prompt: softbox key light from left, soft fill light from right, rim light behind, background light on backdrop. Adding all four gives a polished three or four light commercial setup, while a bare key plus rim gives a punchier, more dramatic result. Matching light across frames is what makes a consistent photo set look shot in one session rather than assembled from scattered generations.
Backdrop, wardrobe, and separation
The backdrop is part of the lighting, not an afterthought. A seamless white backdrop needs its own light to reach pure white, otherwise it renders muddy gray. A dark gray backdrop with a single key gives the dramatic low-key studio look where the subject emerges from shadow. A colored gel backdrop (blue, magenta) adds mood without touching the key light on the subject.
Separation is the recurring problem: a dark-haired subject against a dark backdrop disappears without a rim or hair light. Wardrobe interacts too, since a light outfit against a light backdrop flattens depth. Plan the tonal relationship between subject, wardrobe, and backdrop, and add a rim light whenever the subject and background sit close in tone. When you need to clean up stray spill or refine the backdrop after the fact, the best NSFW AI photo editors roundup covers the tools for it.
High key versus low key
Two studio styles cover most of what you will shoot, and knowing which you want decides every other setting. High key is bright, low contrast, and airy: a white backdrop lit to pure white, soft even light on the subject, minimal shadow. It reads clean and commercial. Describe it with high key lighting, white backdrop, bright, low contrast, soft even light. The risk with high key is blown highlights, since you are already pushing everything bright, so keep CFG down and watch the skin.
Low key is the opposite: dark, dramatic, high contrast, with the subject emerging from shadow against a black or deep gray backdrop. A single hard key and a rim light are often all it uses. Describe it with low key lighting, dark background, dramatic shadows, single key light, chiaroscuro. Low key is more forgiving on highlights but demands good separation, because a dark subject on a dark ground vanishes without a rim. Deciding high key or low key first tells you the backdrop, the number of lights, and the contrast target in one move.
Getting believable catchlights and skin
The details that sell a studio portrait are the catchlights and the skin under flash. Catchlights are the reflected shape of the modifier in the eyes, and their shape tells the viewer what light was used: a soft round catchlight reads as a softbox or beauty dish, while a small hard point reads as a bare flash. Keep catchlight in eyes in the prompt and run an ADetailer face pass so the reflection survives the base render, because a portrait with dead, catchlight-free eyes always looks artificial no matter how good the light is elsewhere.
Skin under studio flash is the other tell. Real strobe reveals texture rather than hiding it, so resist the urge to smooth. Hold natural skin texture, visible pores in the positive and keep CFG moderate so the flash does not plasticize the skin into a blown, waxy sheen. A beauty dish in particular is loved precisely because it renders skin with crisp detail and a controlled, quick falloff. When the catchlights are shaped correctly and the skin holds real texture under the key, the image crosses from obvious AI render into something that looks like a booked studio session.
A studio build order that works
To keep results consistent, run the studio setup in a fixed order. First, choose high key or low key, which sets the mood and the backdrop tone. Second, pick the lighting pattern (butterfly, loop, Rembrandt, split), which decides where the key goes. Third, choose the modifier for soft or hard shadows. Fourth, add separation with a rim or hair light if the subject and backdrop sit close in tone. Fifth, set the aperture to f/8 or so for studio sharpness. Sixth, lower CFG to protect the highlights.
Working in this sequence means every decision follows from the one before it, so you are never stacking random light tags and hoping. It also makes a session repeatable: lock the pattern and modifier, then shoot variations of pose and wardrobe against the same lighting, exactly as a real studio photographer would run a set. Most disappointing studio renders come from skipping the pattern step and asking only for studio lighting, which gives the model no direction and produces the flat, dead result. Name the pattern, and the light gets a job to do.
When to level up
Once a single key light is reliable, build multi-light setups. Add a rim light or hair light tag for separation from the backdrop, or a fill light to control the shadow ratio precisely. Grade the backdrop from light to dark with graded backdrop, vignette for a more dramatic commercial look. For hard-light beauty work, tighten the modifier to beauty dish with grid for a controlled, punchy falloff. As you gain control over the key, fill, and rim, you are effectively lighting the way a real studio photographer does, and the results stop looking like AI and start looking like a booked session.
Frequently asked questions
Why are my studio flash highlights blown out to white?
CFG is too high and the flash prompt is overexposing skin. Lower CFG to 5 to 6.5 and add blown highlights, clipped highlights, and white forehead to the negative. Clipped white cannot be recovered in post, so fix it at generation.
How do I control soft versus hard studio light?
Name the modifier. Softbox, octabox, and umbrella give soft, wrapping light with gentle shadows. Bare reflector and hard flash give crisp shadows and high contrast. The modifier tag is what decides shadow quality, not brightness.
What makes AI studio light look flat and dead?
There is no key direction. Add a directional key like softbox key light from left with soft shadows, and add flat lighting and ambient light to the negative. A defined key direction is what gives the subject dimension against the backdrop.
Why do the eyes look lifeless in my studio portraits?
They are missing catchlights, the reflected shape of the modifier in the iris. Add catchlight in eyes to the prompt and run an ADetailer face pass so the reflected highlight survives, which is what makes studio eyes look alive.
Which checkpoint is best for the studio flash look?
CyberRealistic Pony excels at posed, lit portraits with good catchlights, and RealVisXL renders clean seamless backdrops with controlled falloff. Both handle the strong directional key that studio flash needs better than a general base model.
What aperture should I use for studio flash?
Stopped down, around f/8 to f/11. Studio flash usually shoots for sharpness front to back rather than shallow depth of field, so a smaller aperture tag keeps the whole subject crisp, unlike the wide-open portrait looks.
Is AI Nudez local or hosted?
It is hosted and runs in the browser with no local install, which makes it a fast way to test soft and hard studio light looks before you build a full local Stable Diffusion pipeline with modifiers and multi-light setups.
How do I get a graded studio backdrop instead of flat gray?
Add graded backdrop and vignette to the prompt, or run a light img2img pass at low denoise to deepen the background falloff. A gradient from light to dark reads as a more intentional, commercial studio look than flat seamless gray.